Hardware Setup
Each iPad is paired to its own chip reader. Keep the pairs together — iPad 1 with Terminal 1, iPad 2 with Terminal 2.
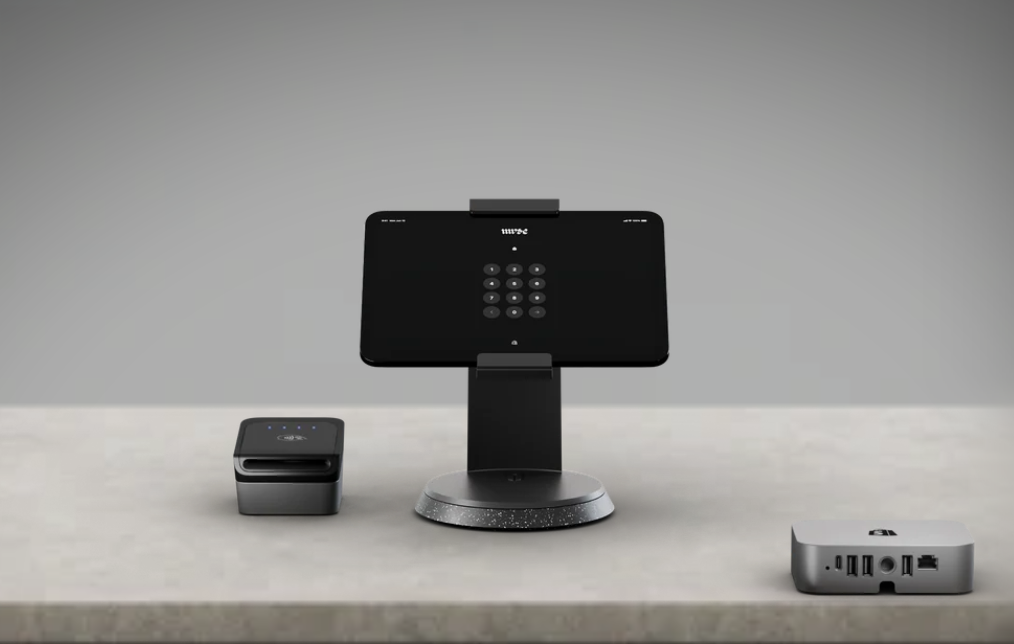
Set up the station
- Place one iPad stand on the table and seat the iPad in it.
- Run the cable from the POS hub to the iPad.
- Connect the chip reader cable into the POS hub.
- Connect the iPad to local Wi-Fi or a hotspot before you start.
iPad 1 works with Terminal 1, iPad 2 with Terminal 2. Readers connect over Bluetooth by default but may fall back to a wired connection through the hub — either is fine, as long as the numbers match.
Offline checkout is disabled — there's no way to authorize a card without a connection. The iPad must be online to take payment.
The device is already linked to PSD's Shopify. If it ever logs out and shows a sign-in code (different from your access PIN), that code has to be authorized by Gian. This shouldn't happen again — if it does, reach out to him.
Device Access & Login
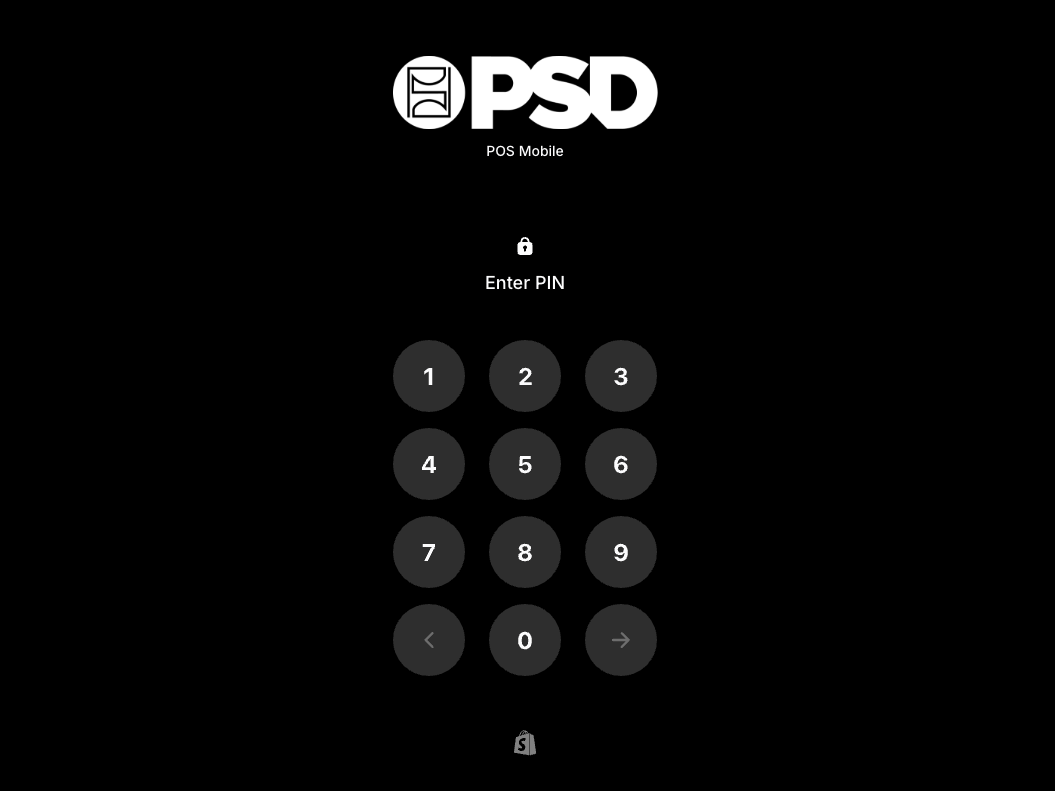
The iPad is already linked to PSD. Unlock the iPad, open the Shopify POS app, then enter your PIN to access the register.
- Unlock the iPad with code 3266.
- Open the Shopify POS app.
- At the PIN prompt, enter your register PIN. Associates use 3266.
Unlocking the iPad and logging into the register are different prompts. Associates happen to use 3266 for both.
If the app doesn't show the PIN option and instead asks you to log into a Shopify account or activate the device, stop and contact Gian Singh for setup at 949.404.9999. This shouldn't happen during an event.
Permission Levels
Three levels. Associates run sales; managers approve overrides; admin is setup only.
- Basic POS functions
- Custom sales need a manager override
- Custom discounts need a manager override
- Returns & exchanges with manager override
- All associate functions
- Approves associate overrides
- Performs limited functions on behalf of associates
Used for initial setup and POS IT. Not needed during events.
The Home Screen
Once you're logged in as an associate, this is your workspace. Here's what each area does — and what to leave alone.

The cart (right side)
Items you add appear here. You can attach a customer to the sale or leave it blank.
Action items (center / left)
- POS catalog — the only place you add items to an order.
- Apply a discount — discount codes, or a manager-approved custom amount.
- Add a customer — attach a customer to the sale.
- Custom sale — requires a manager override.
- PSD web — quick link to psd.com. You shouldn't need it.
- Send cart — not tested; not available for events.
Left-hand tabs
- Home — this screen.
- Orders — orders placed on this POS (used for returns).
- Products — leave alone. Shows everything on psd.com, not just POS items.
- Customers — leave alone. Shows all PSD customers; not relevant here.
The Products and Customers tabs pull the full psd.com catalog and customer base. Only the POS catalog shows what's eligible to sell at the event.
Lower tabs & the three dots
- Register — for a cash tray. We don't use one, so ignore it.
- Connectivity — shows connected hardware; check here if the chip reader acts up.
- Lock — locks the POS.
- Three dots — settings and support. You shouldn't need anything in here.
If you walk away from the iPad, lock it. Every time.
Processing a Sale
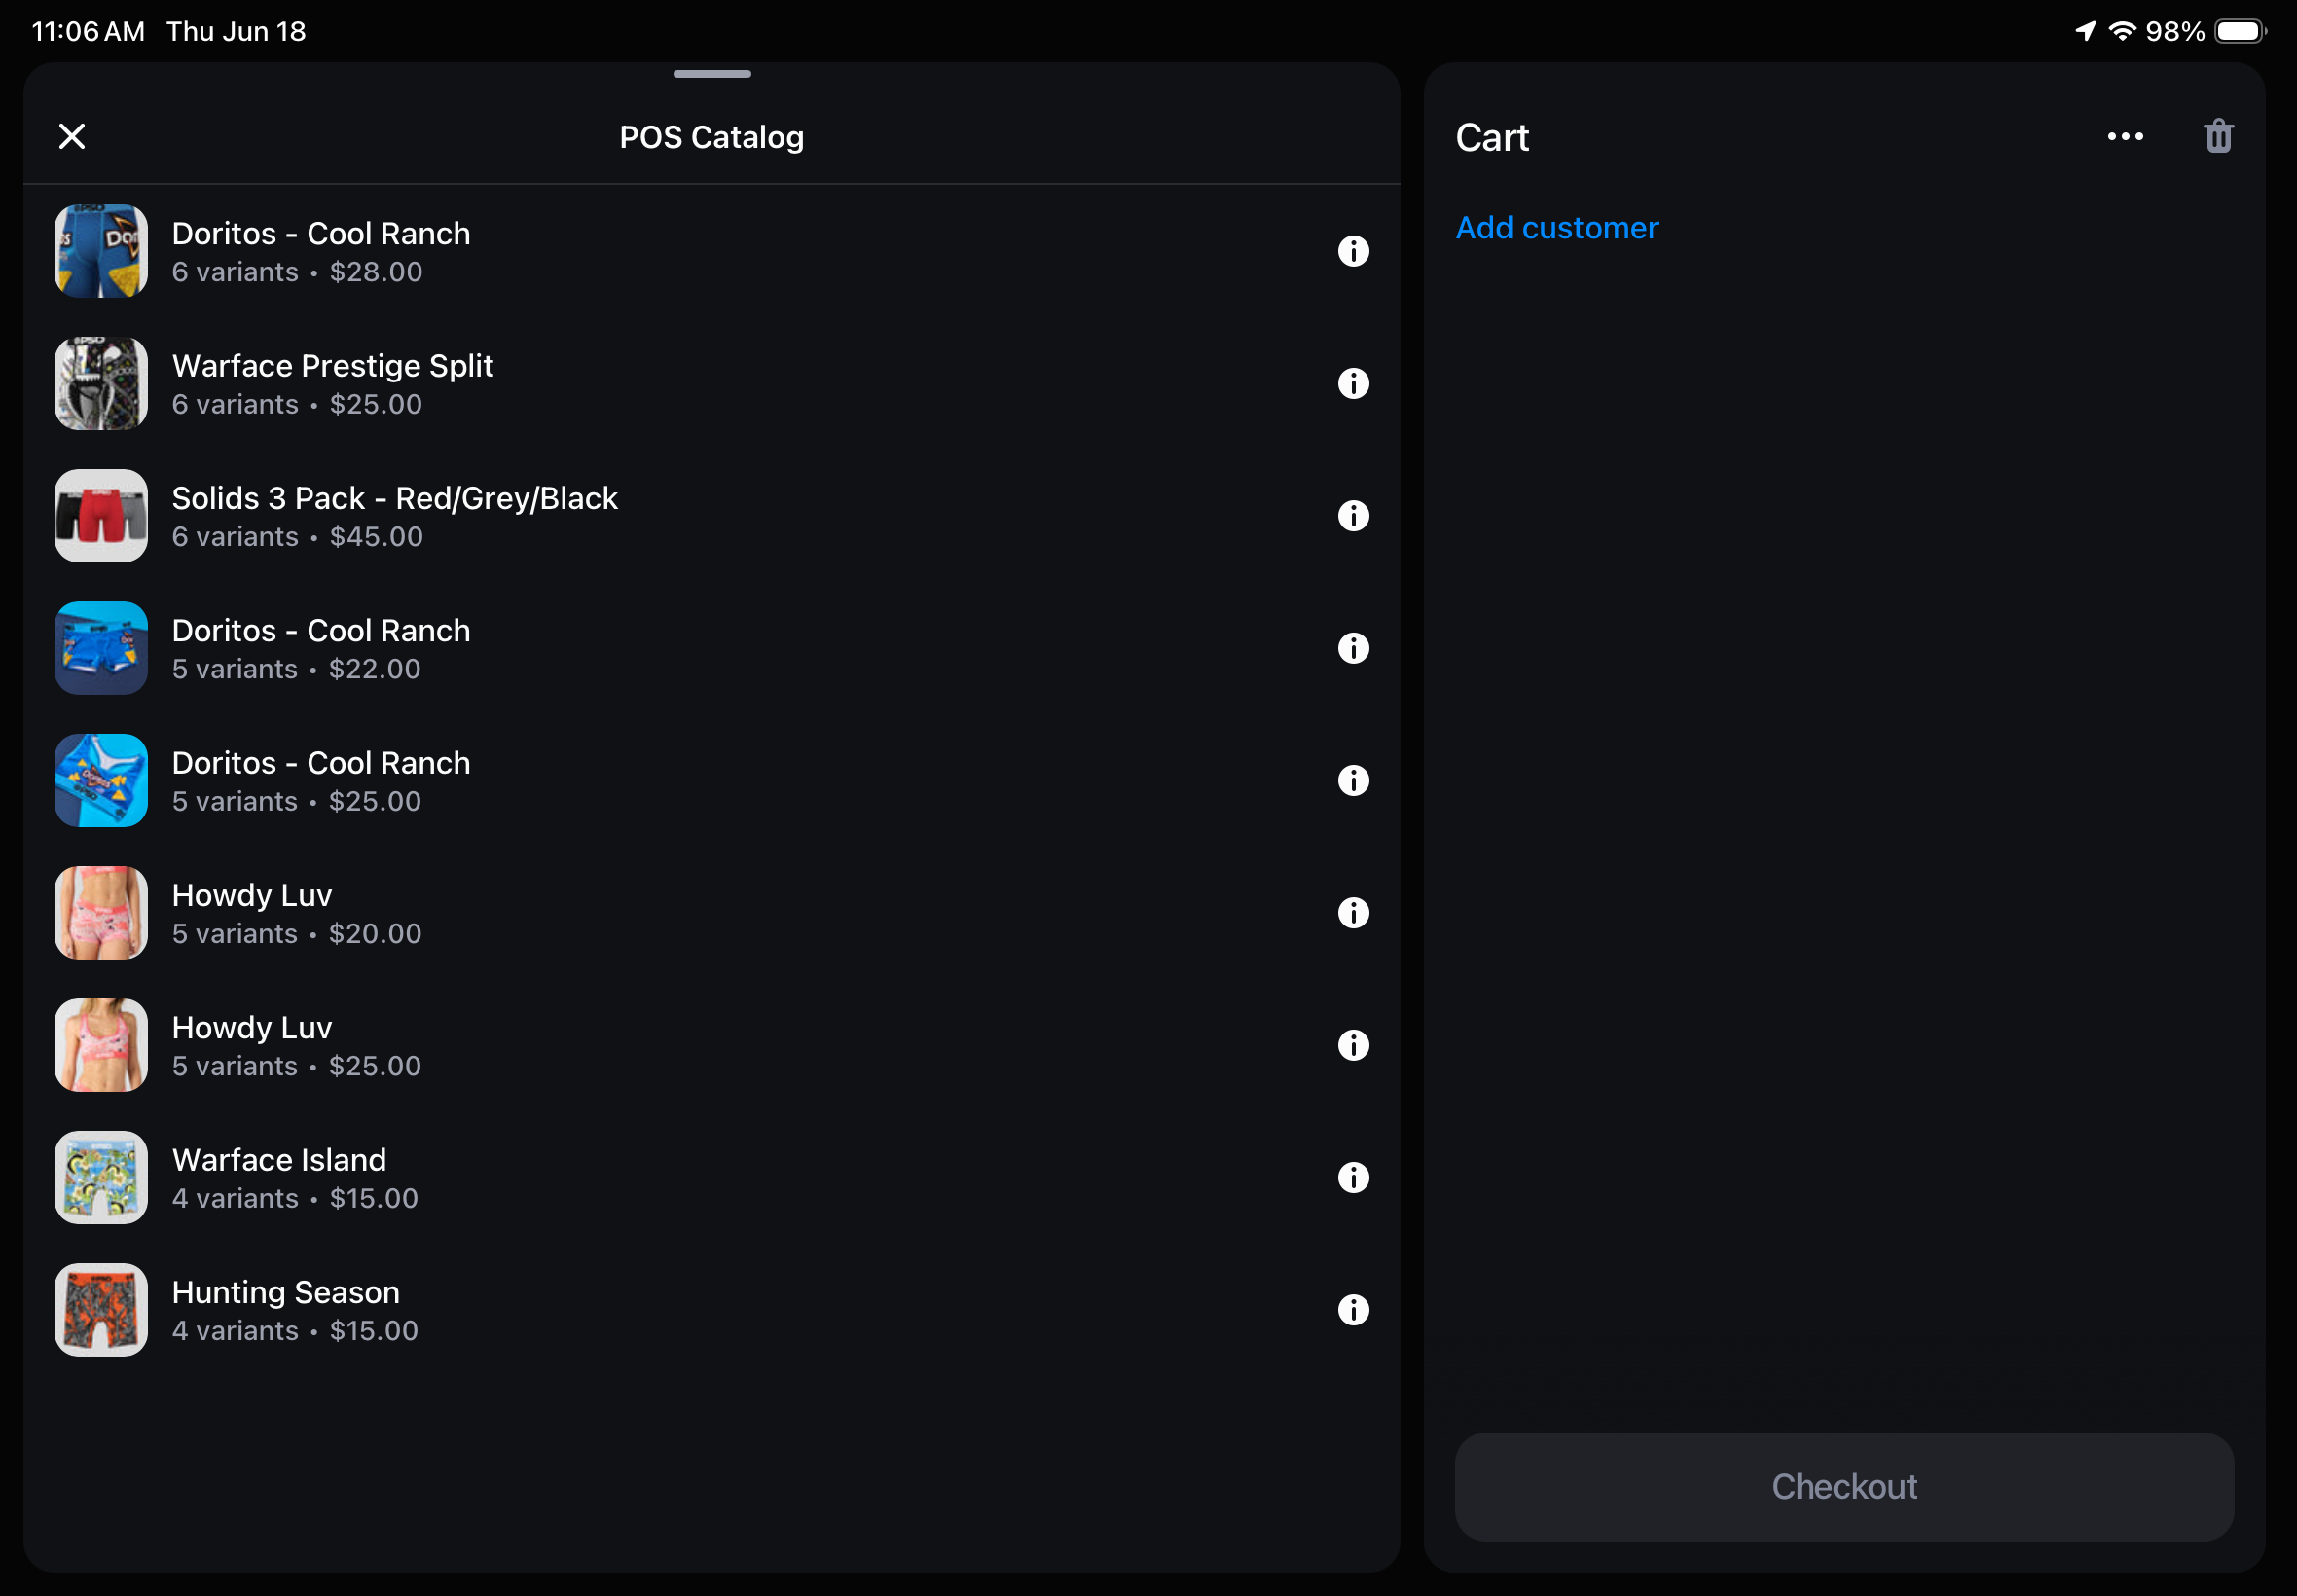
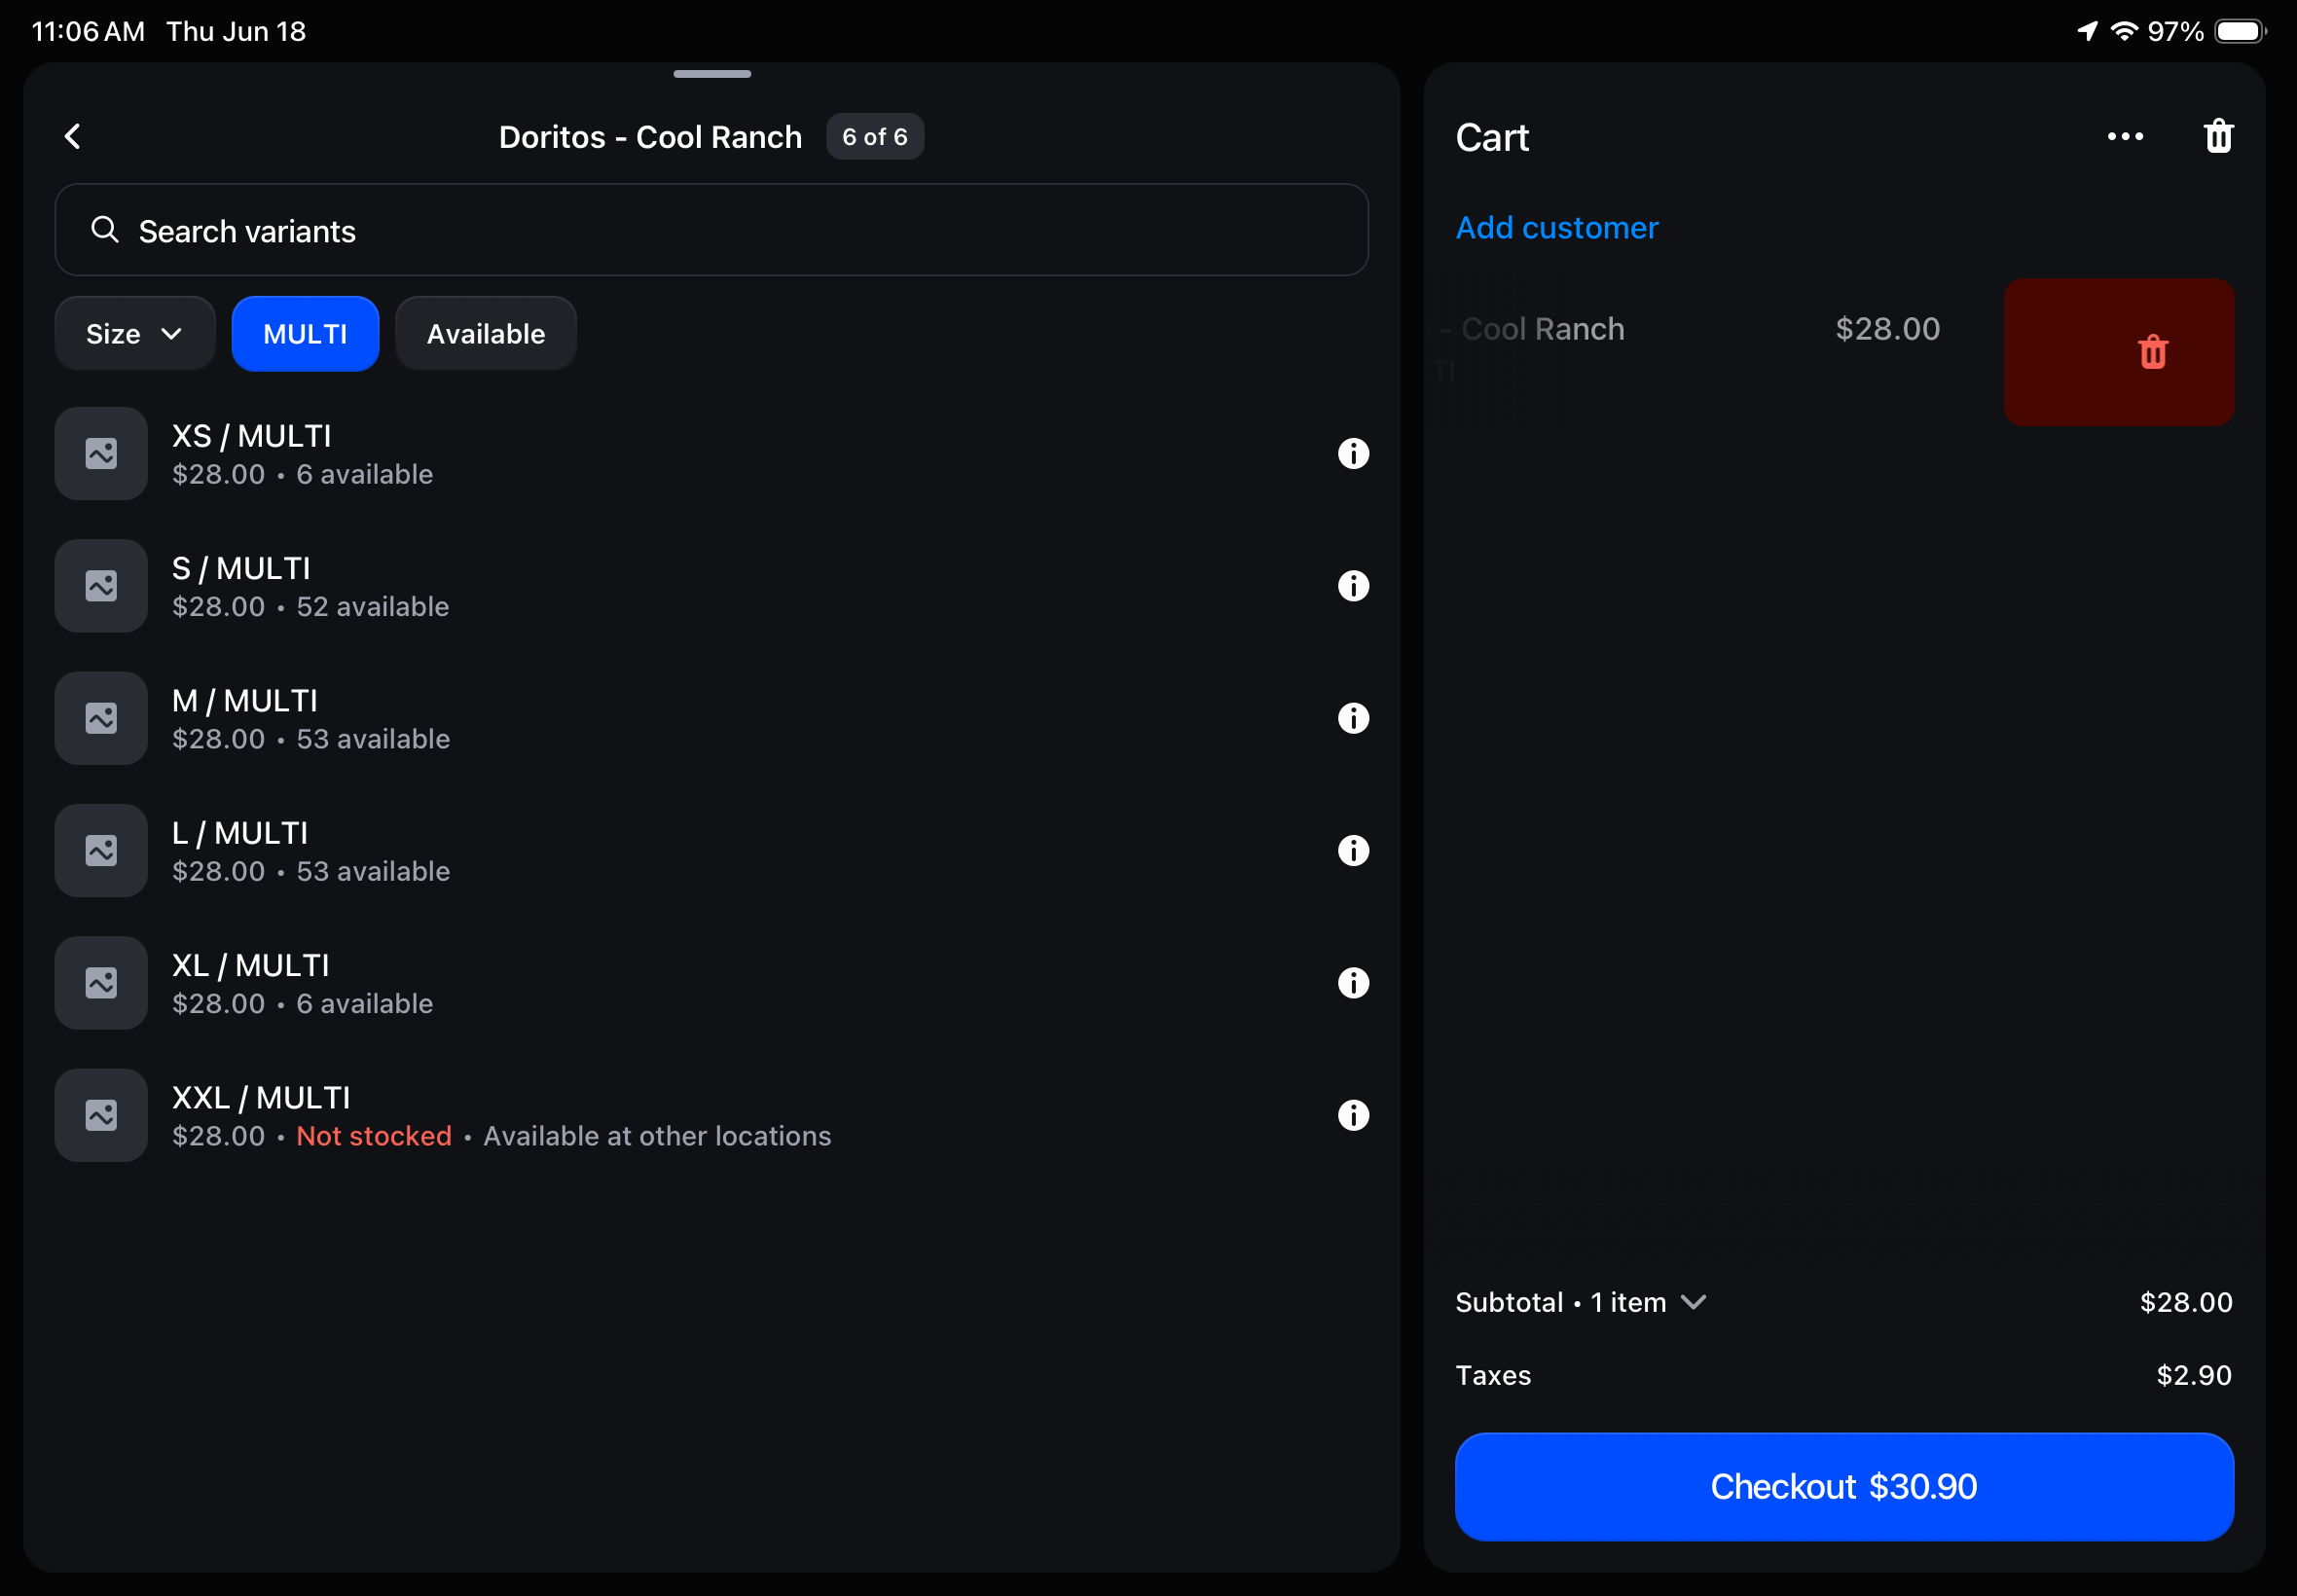
Open the catalog, pick the item and size, send it to the cart, check out.
- Tap POS catalog and find the item the customer wants.
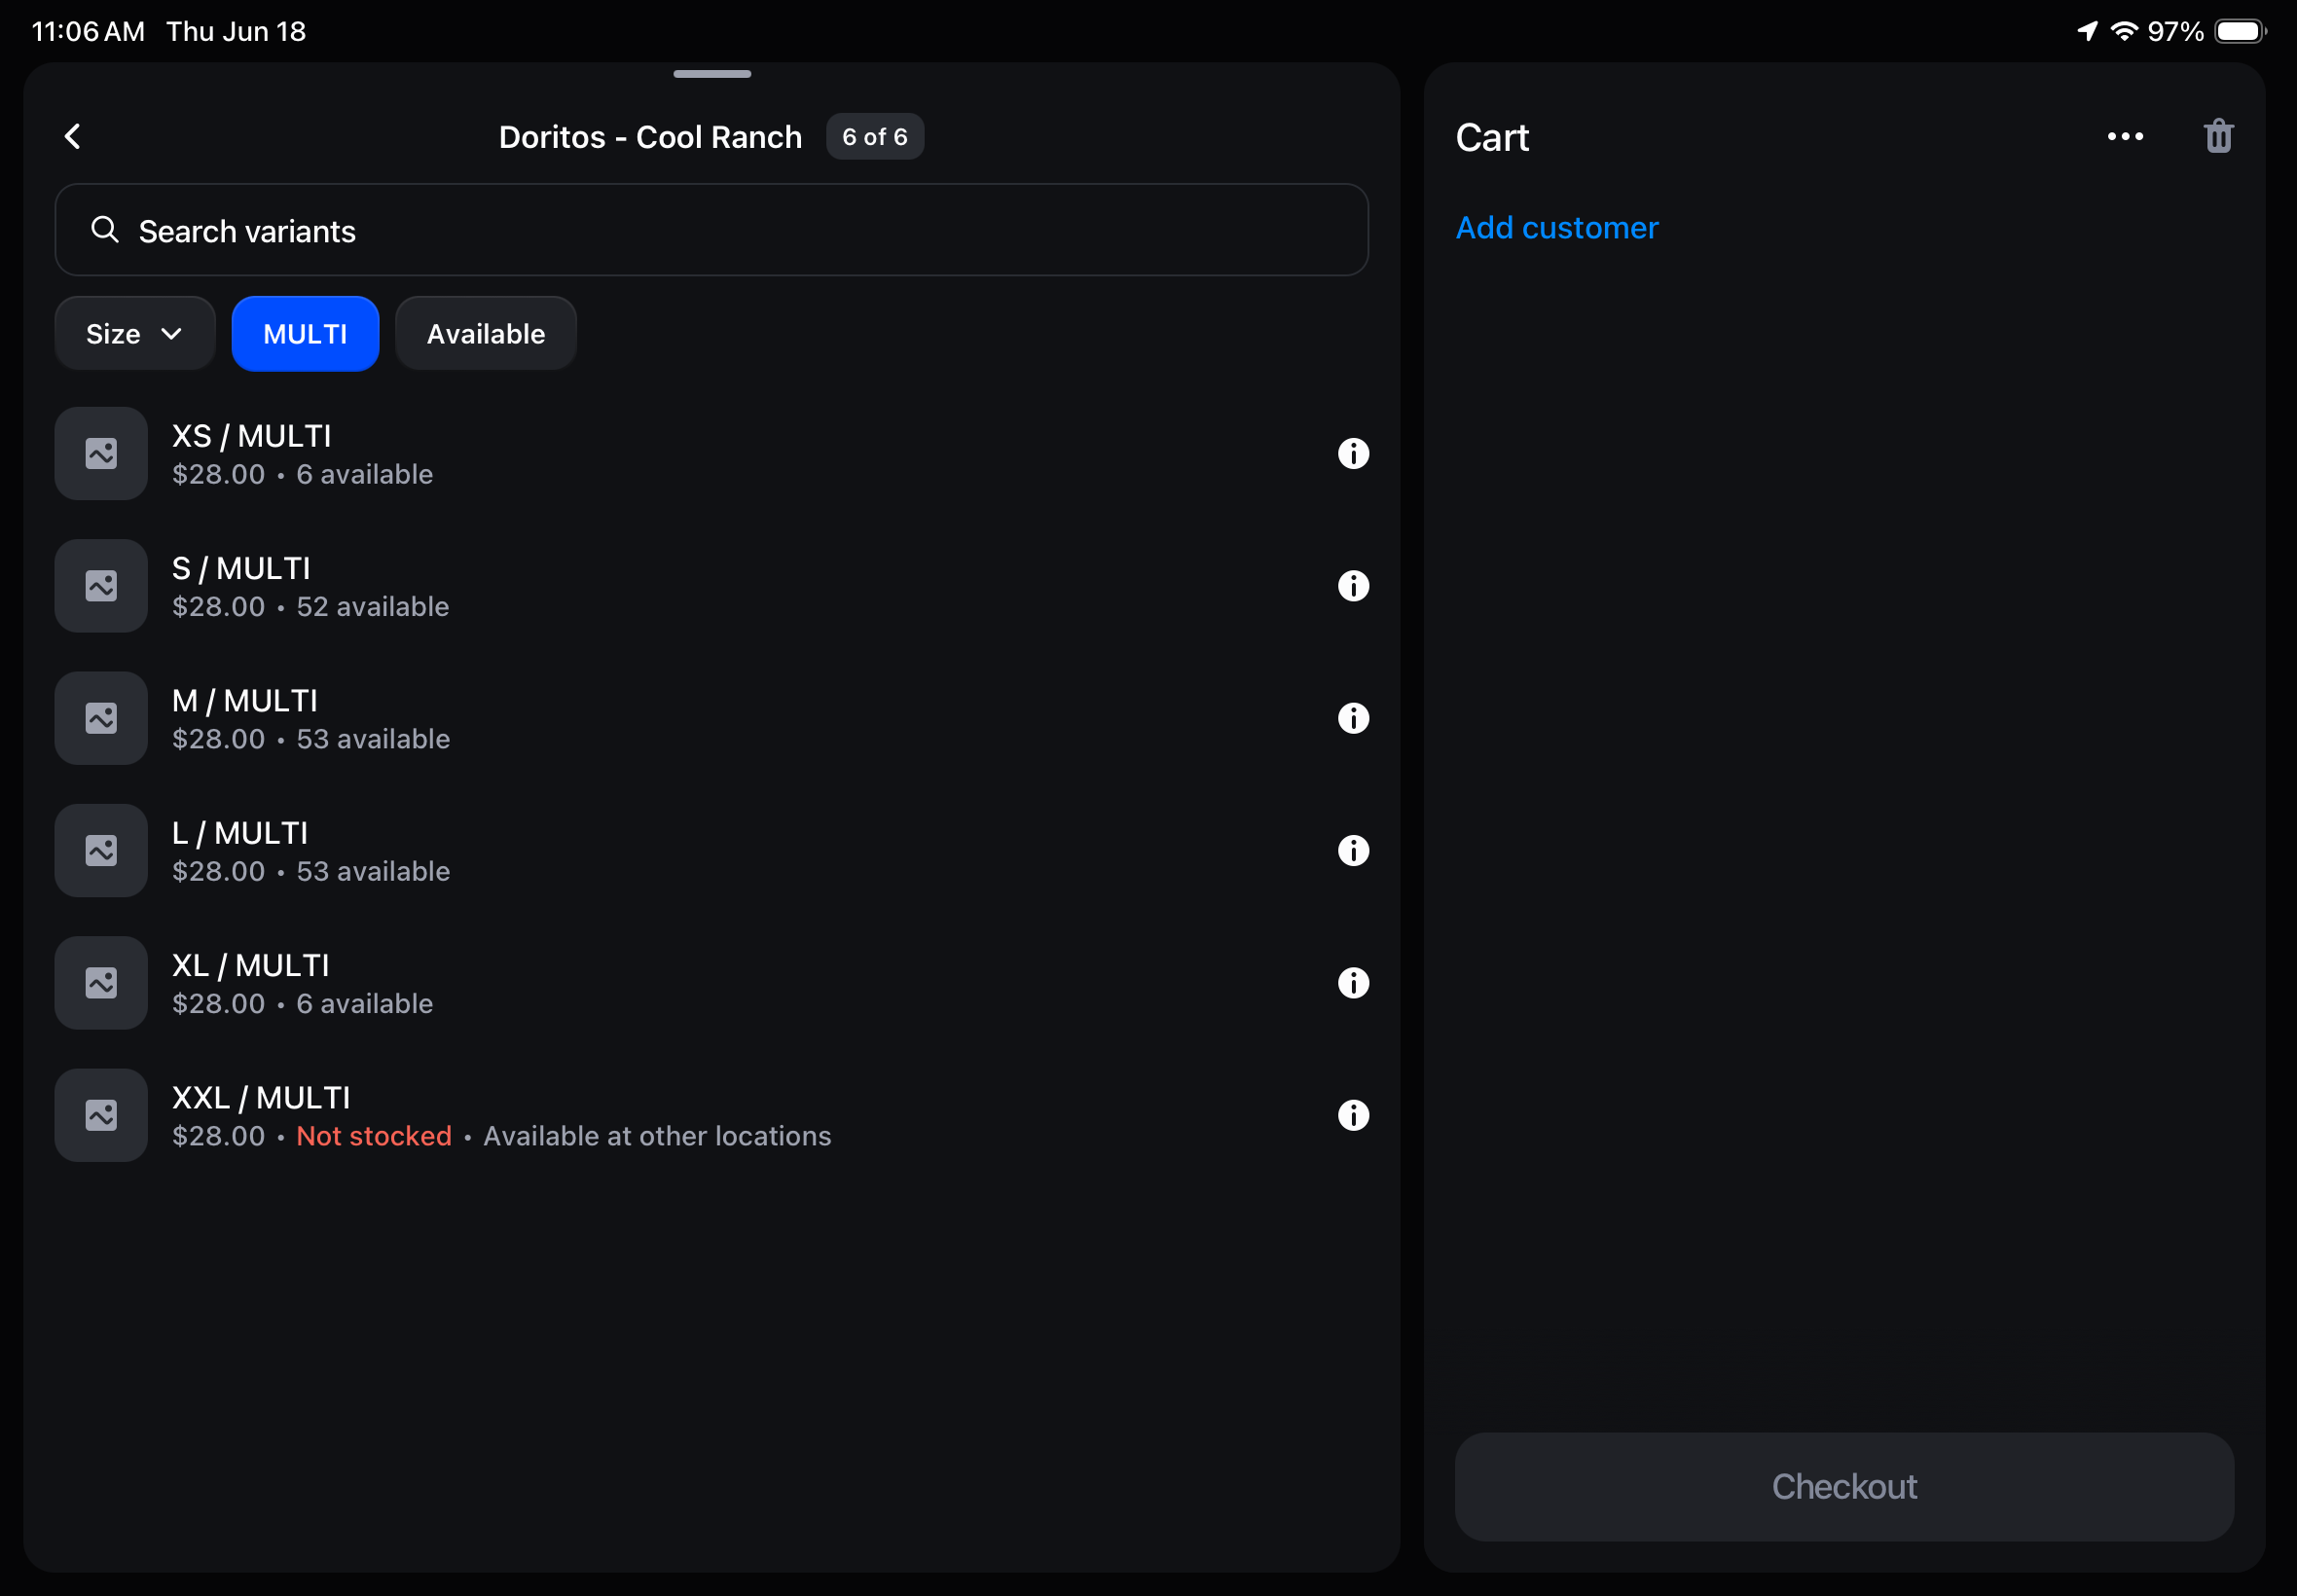
- Open the item to see available sizes and their inventory.
- Tap a size to add it to the cart.
- Repeat for any other items, then tap Checkout.
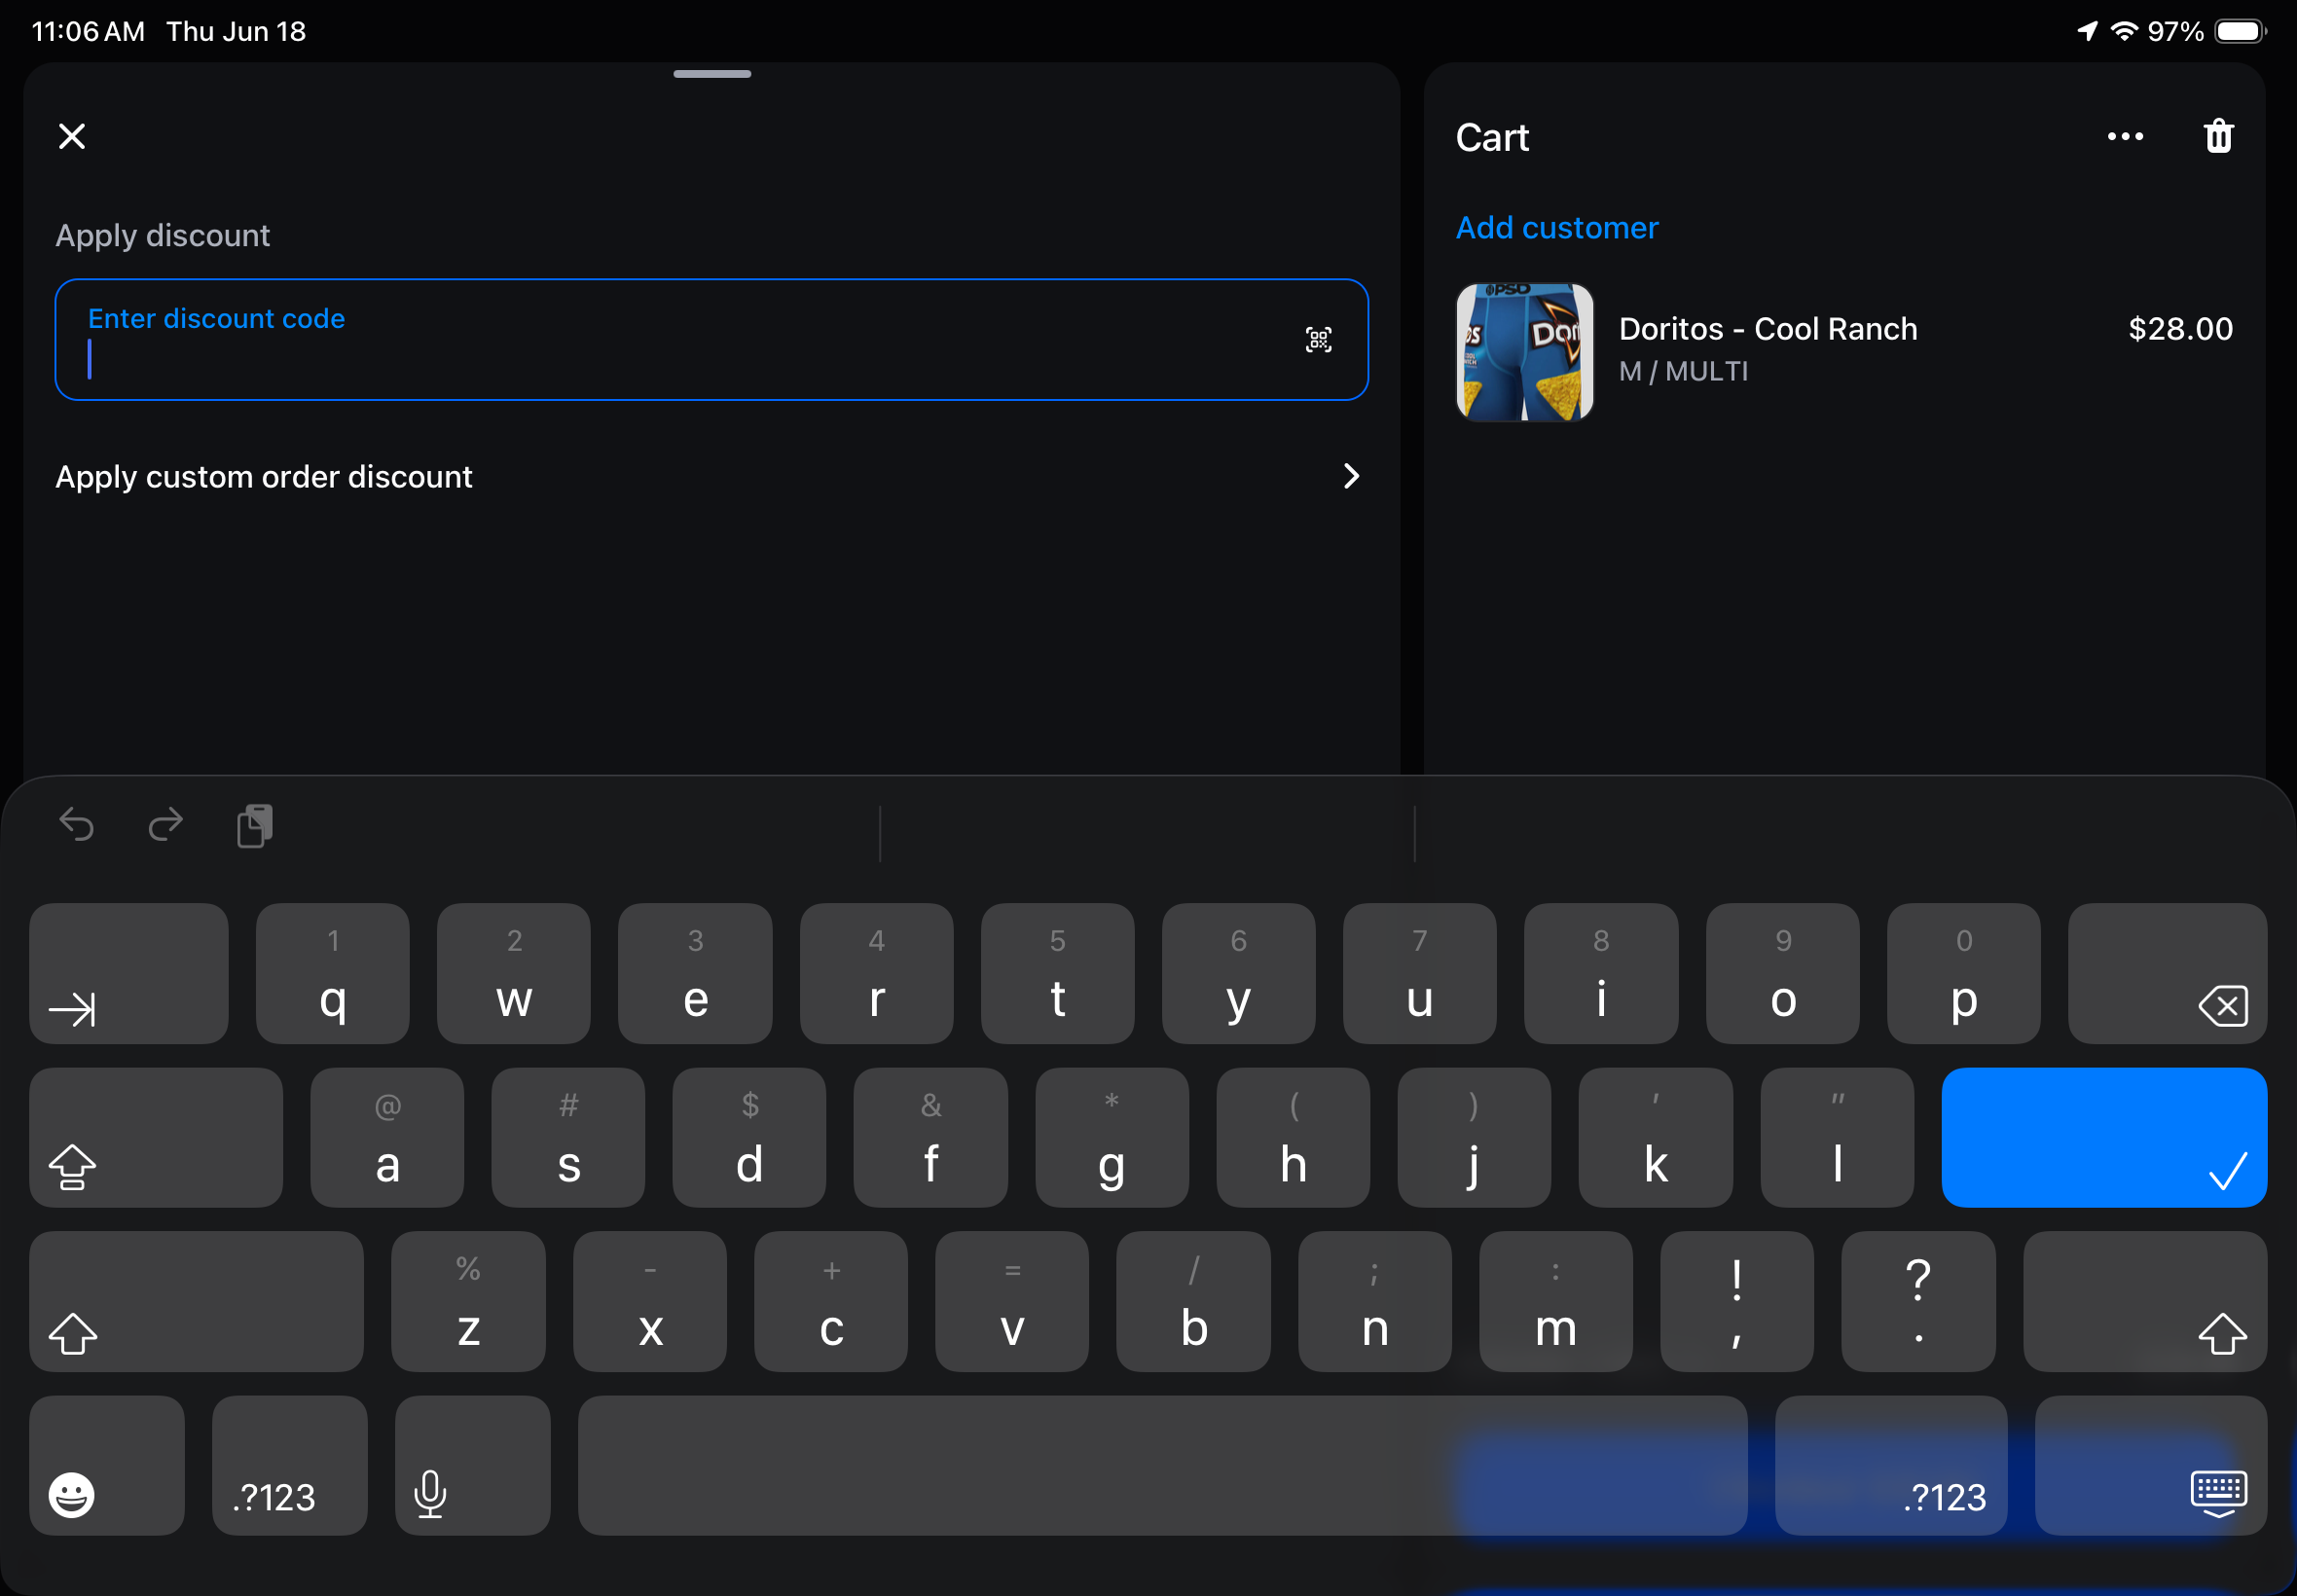
Discounts (optional)
At checkout you can apply a discount code, or a manager can enter a custom amount.
A custom discount requires a manager to enter their PIN to authorize it.
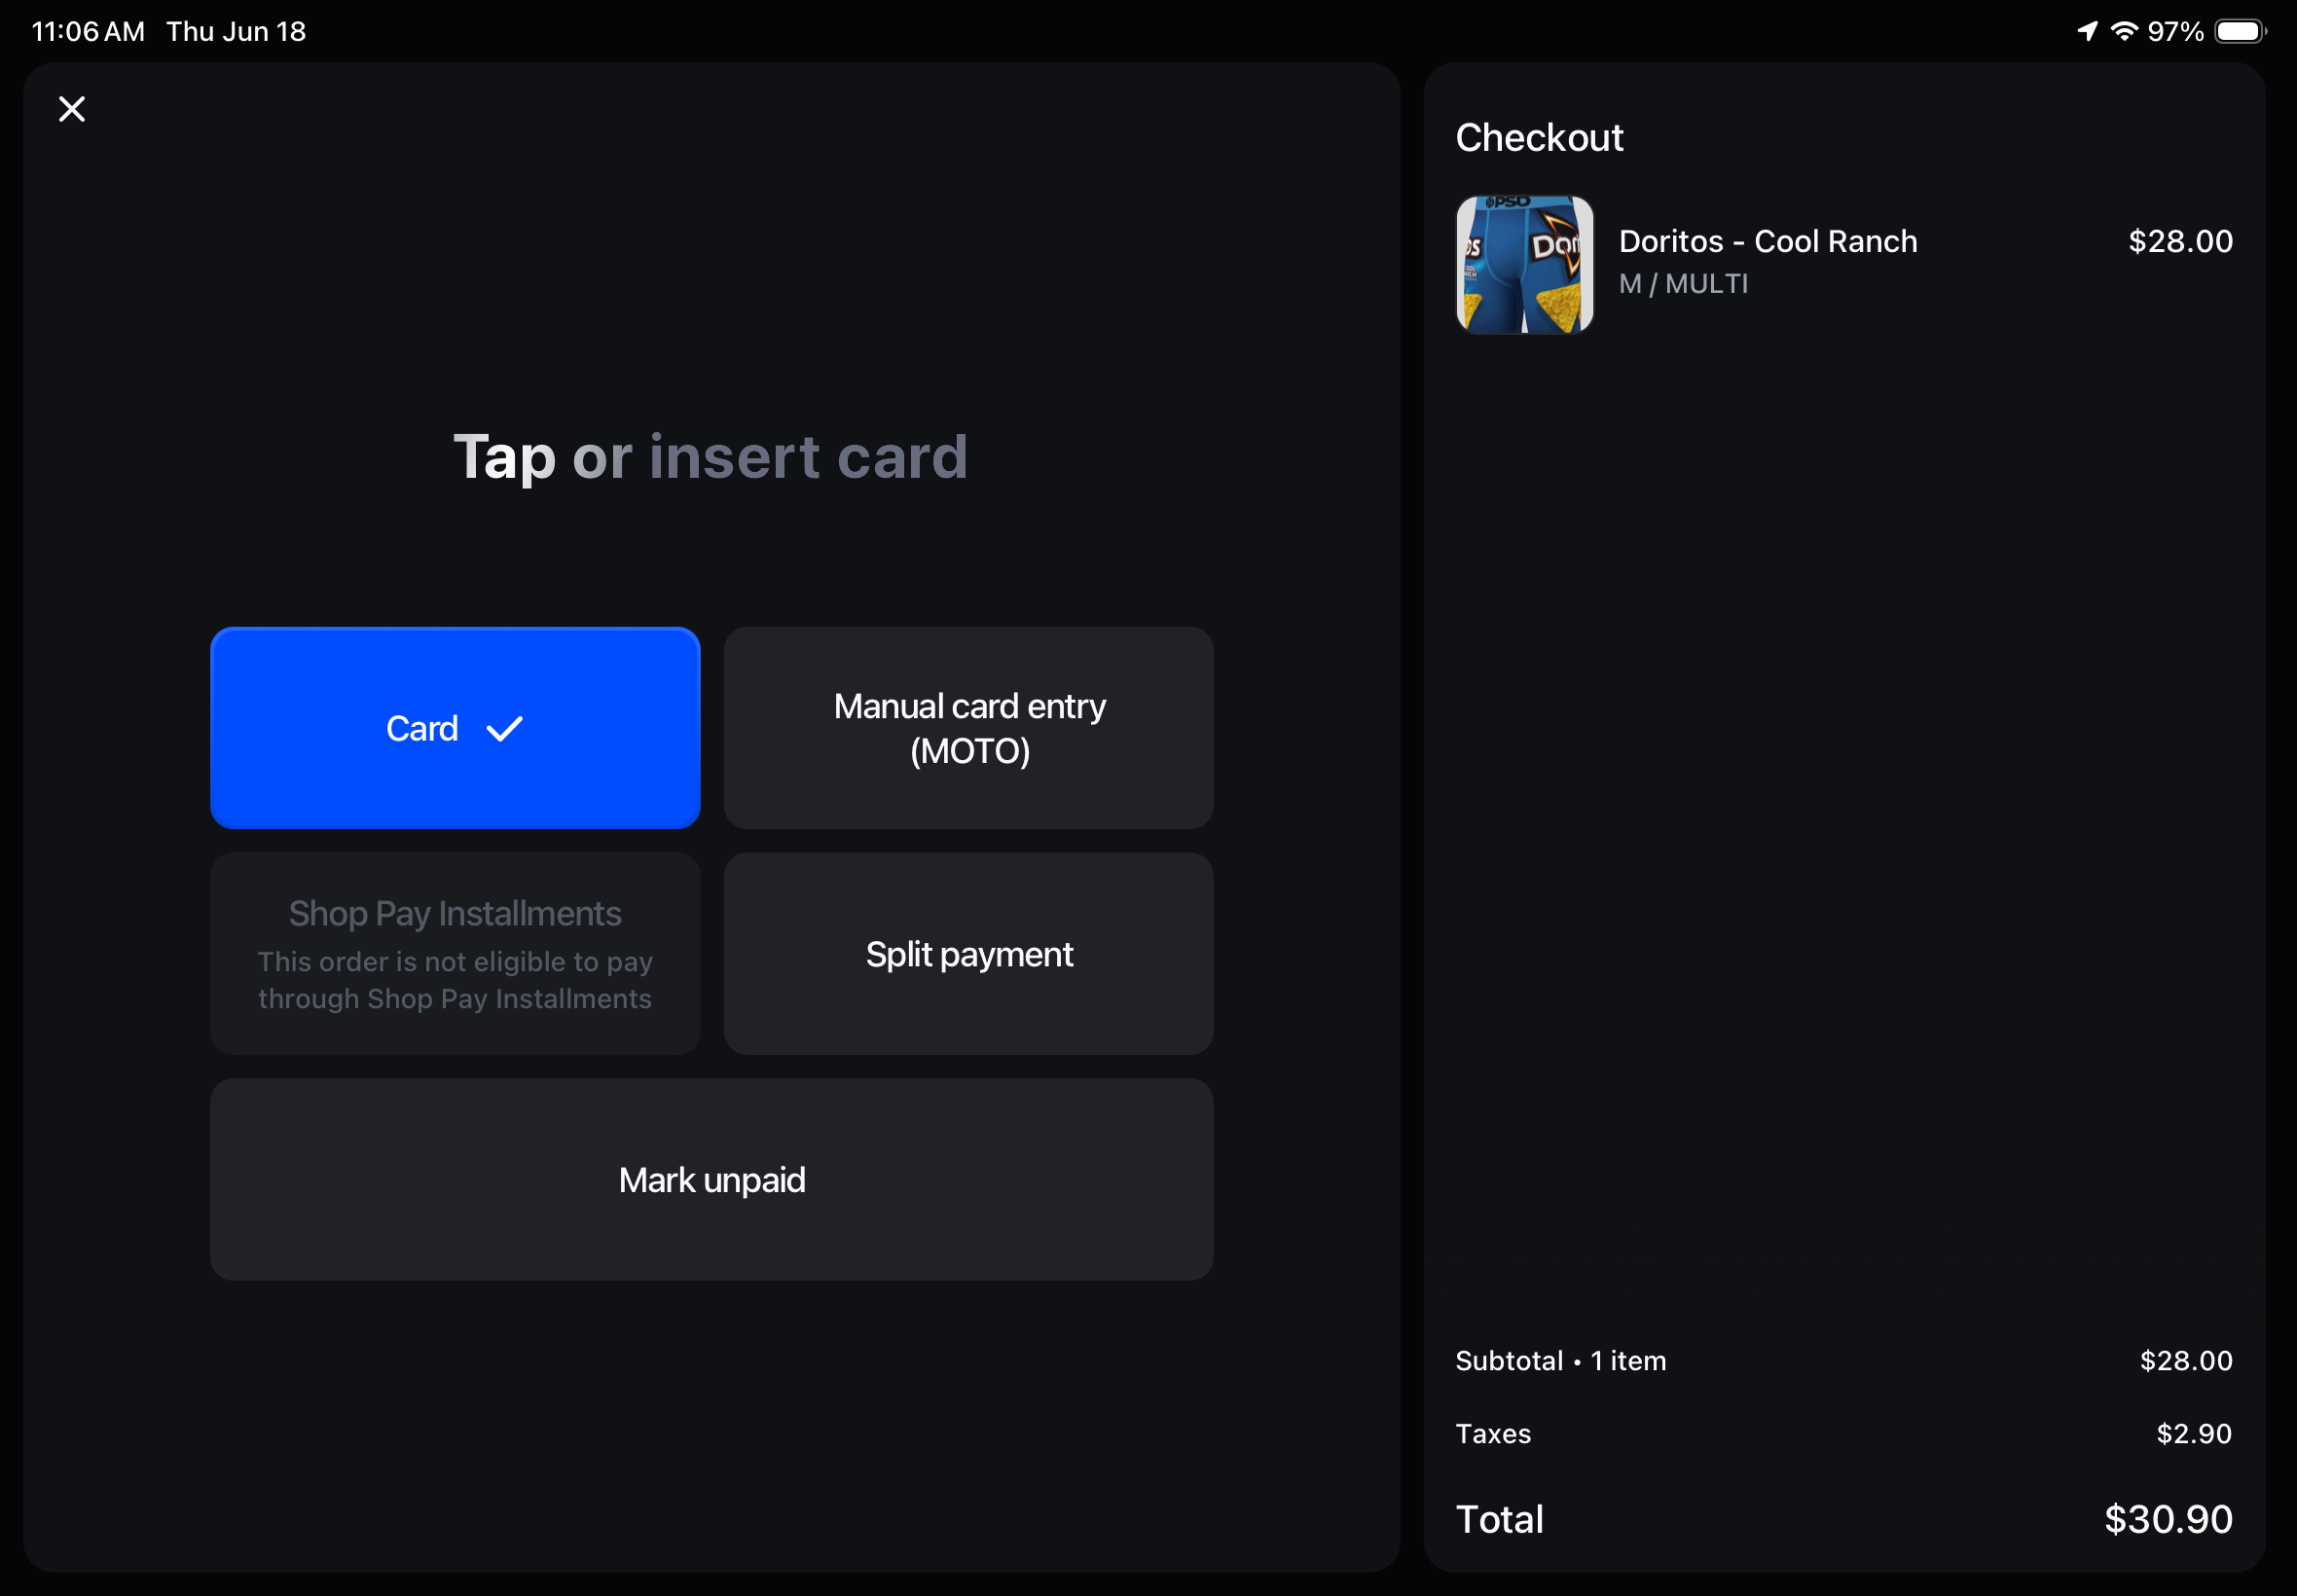
Taking Payment
Use Card. The customer taps or inserts at the reader, then choose how to send the receipt.
- Tap Checkout and select Card as the payment method.
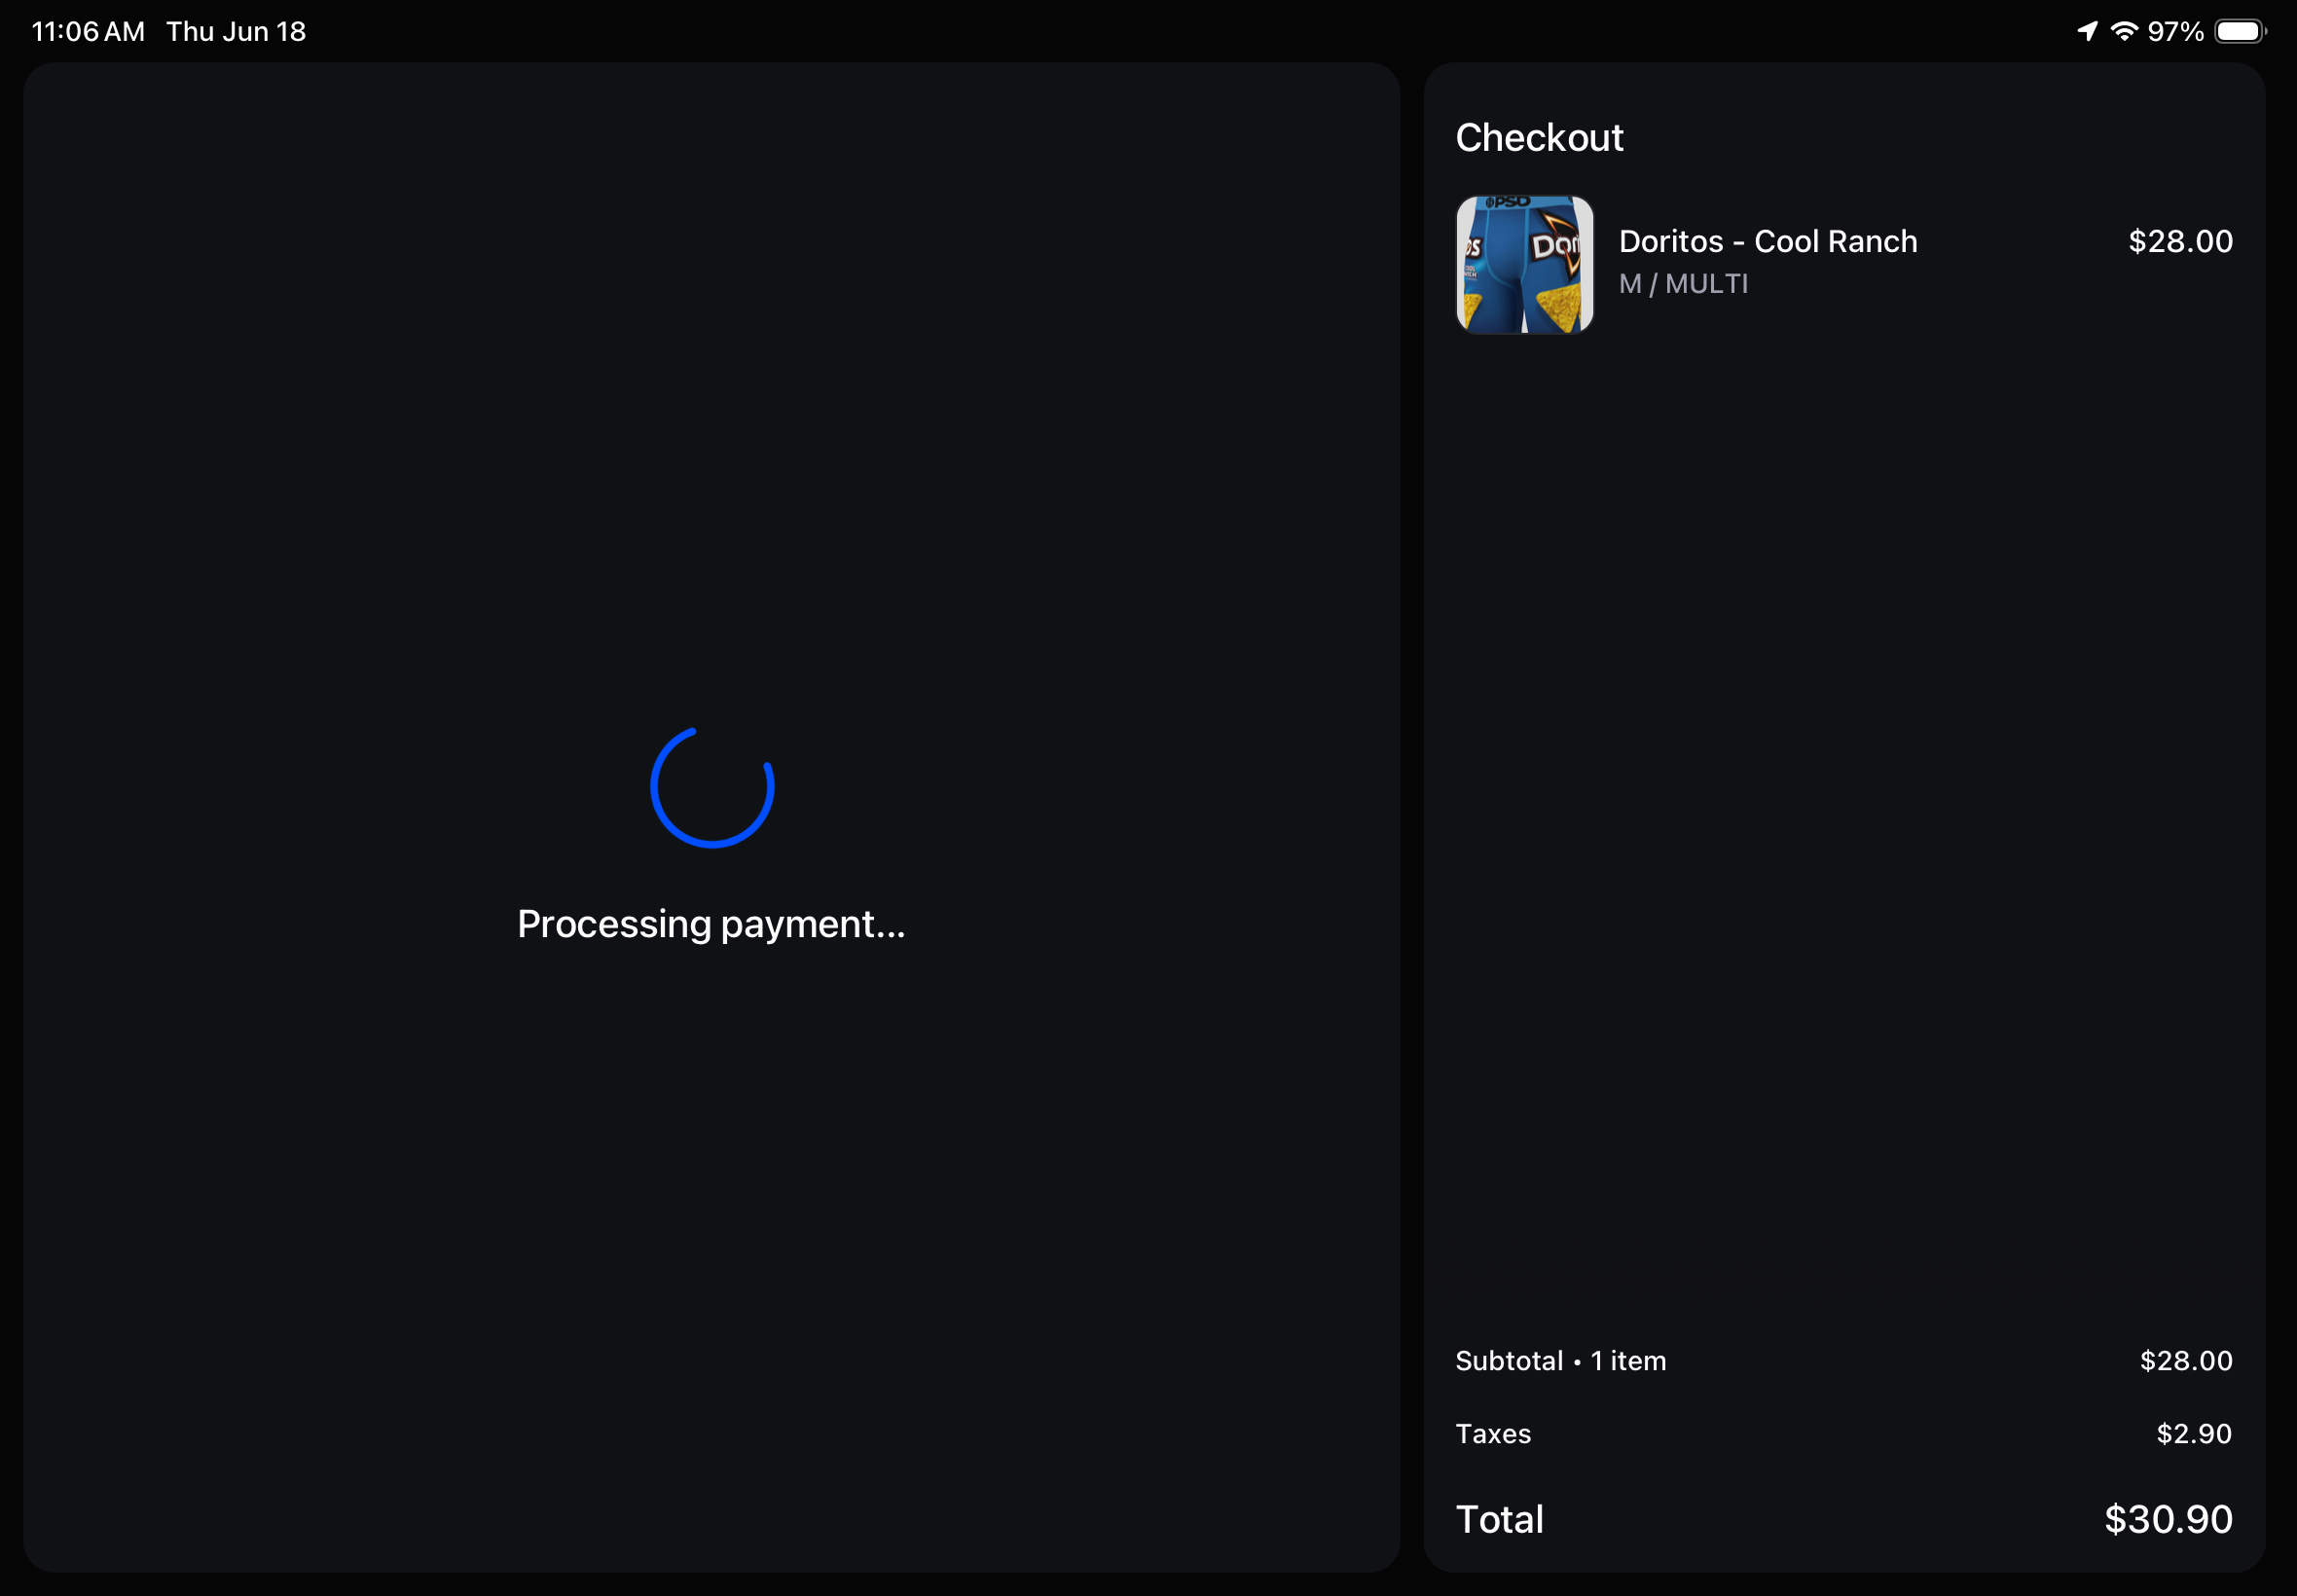
- The customer taps or inserts their card at the reader.
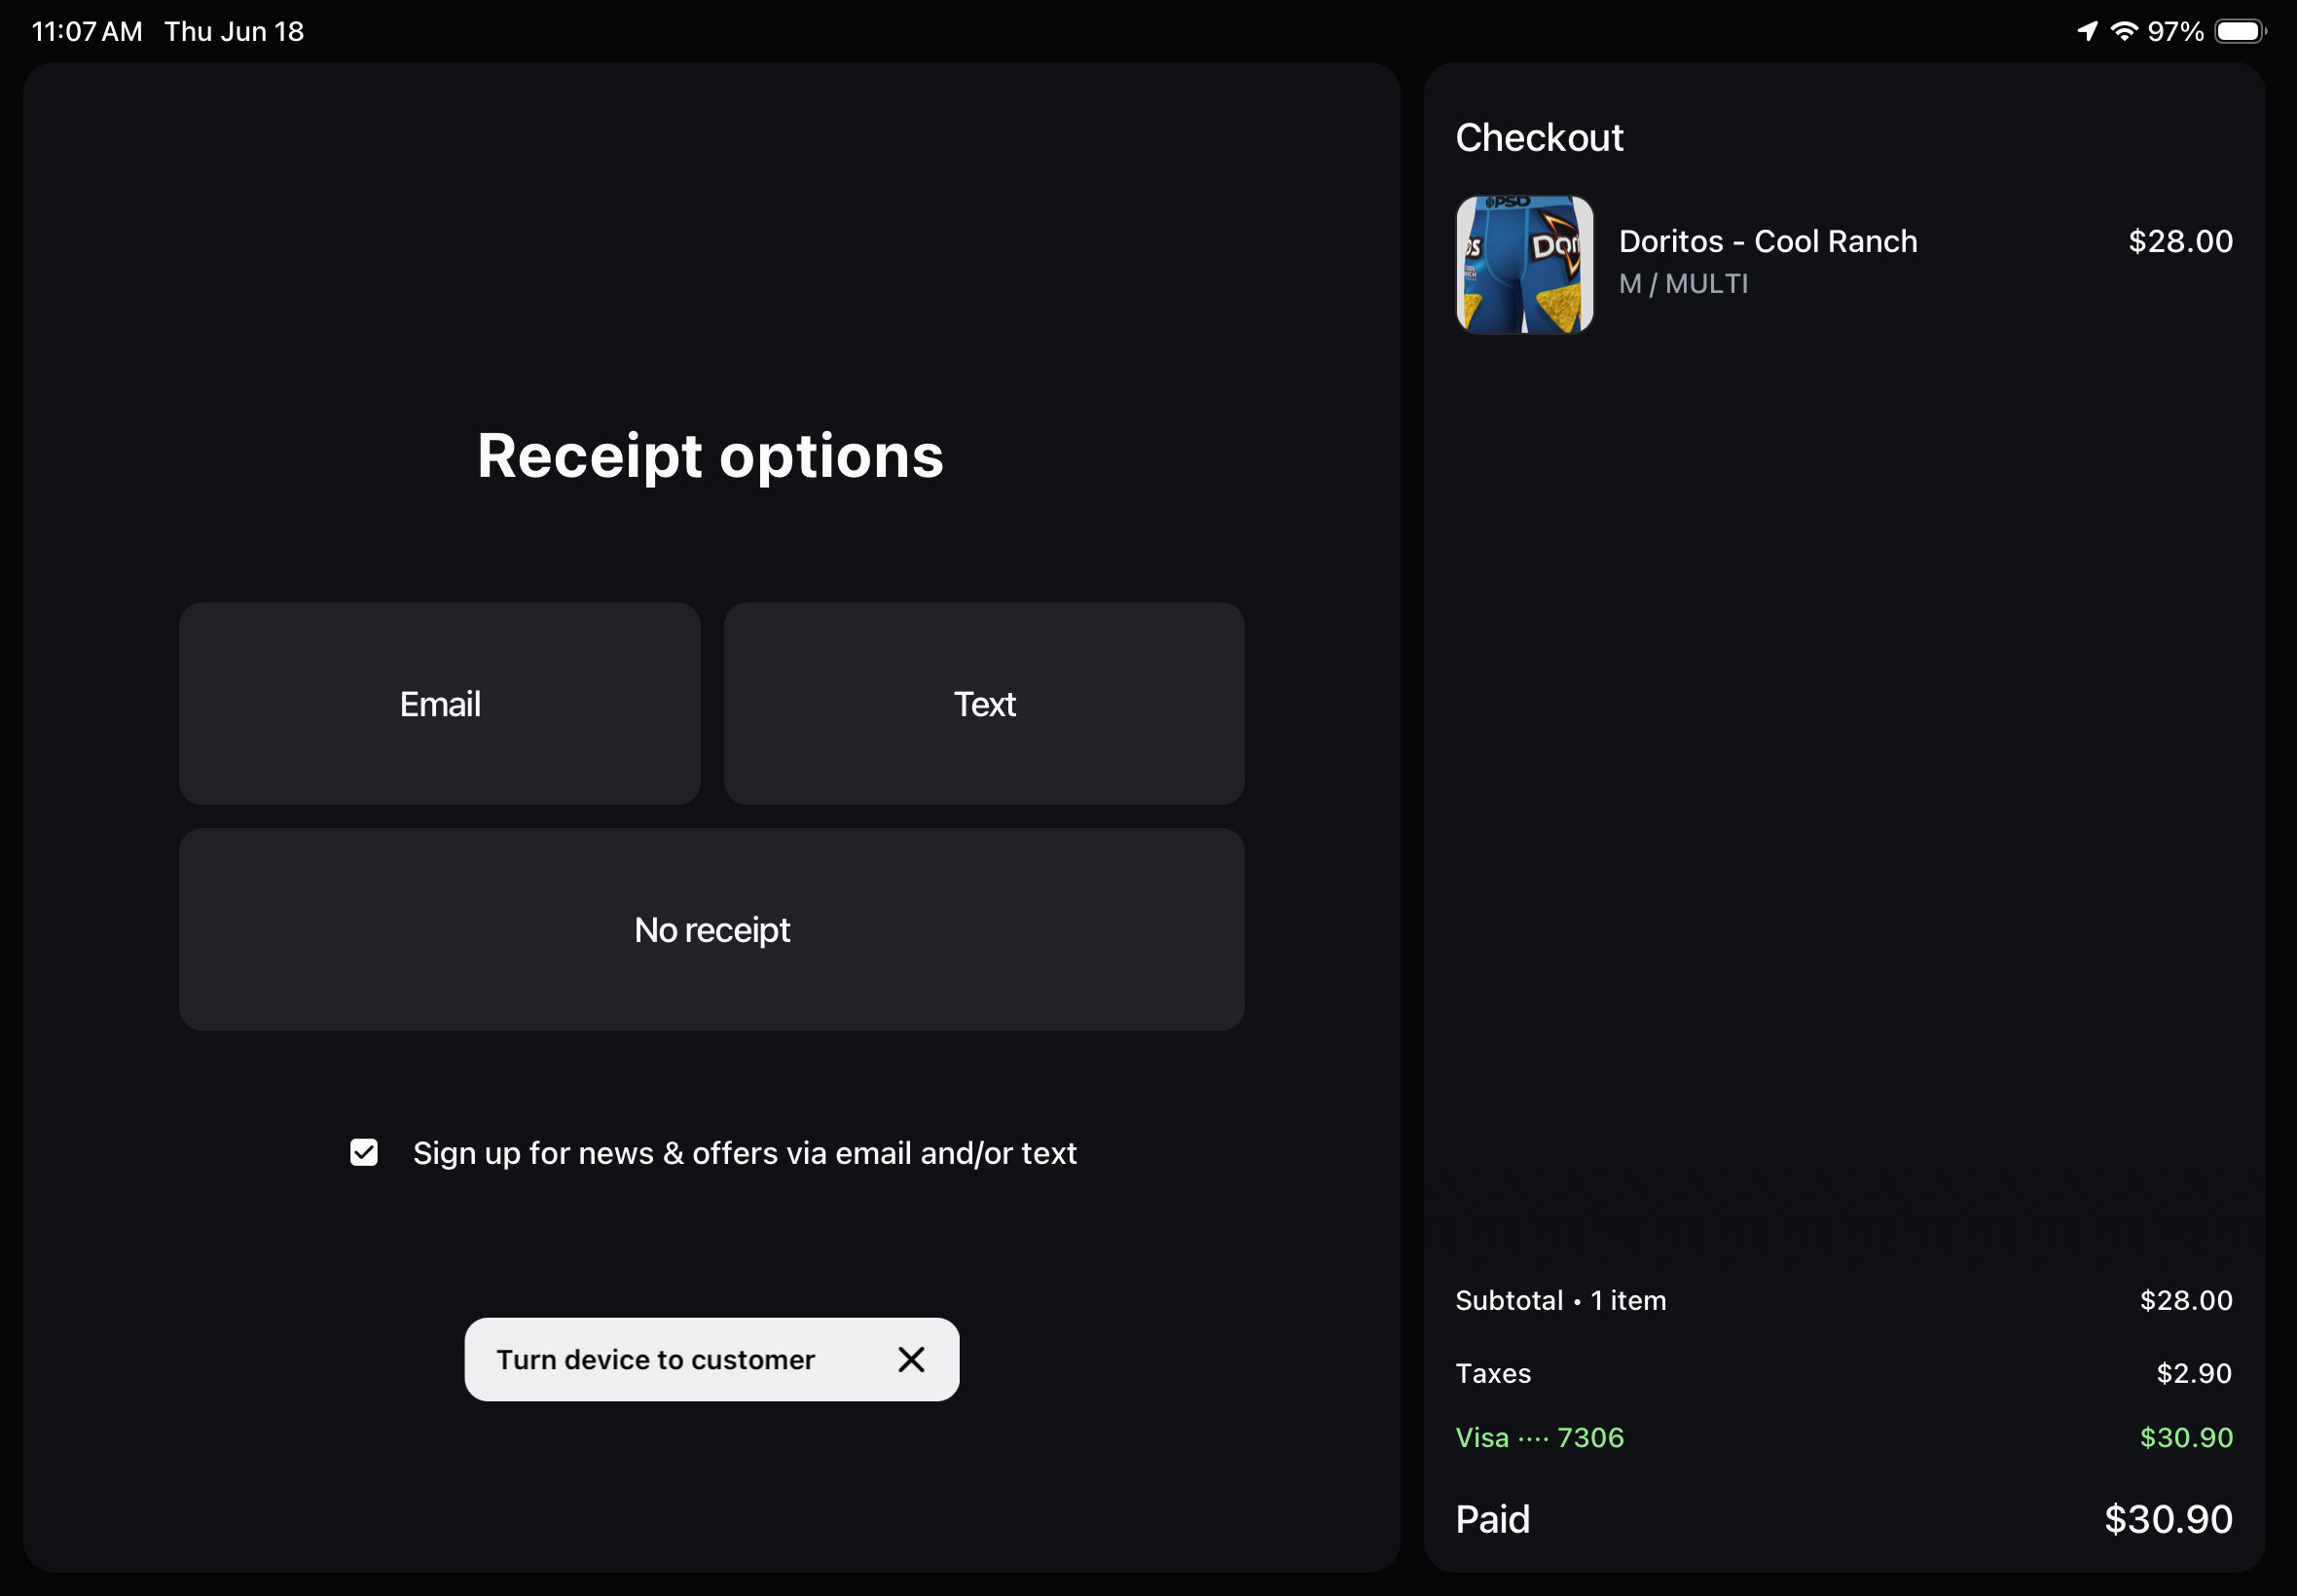
- Send the receipt — text is fastest.
Payment options
- Card — what you use.
- Manual card entry — do not use unless absolutely required. Always prioritize tap or insert for chip.
- Split payment — do not use; it complicates this flow.
Receipts
If the card is tied to a Shopify account, a receipt emails automatically. Otherwise, choose text or email under More options.
Default to text — it's faster to fill out and keeps the line moving.
Returns & Exchanges
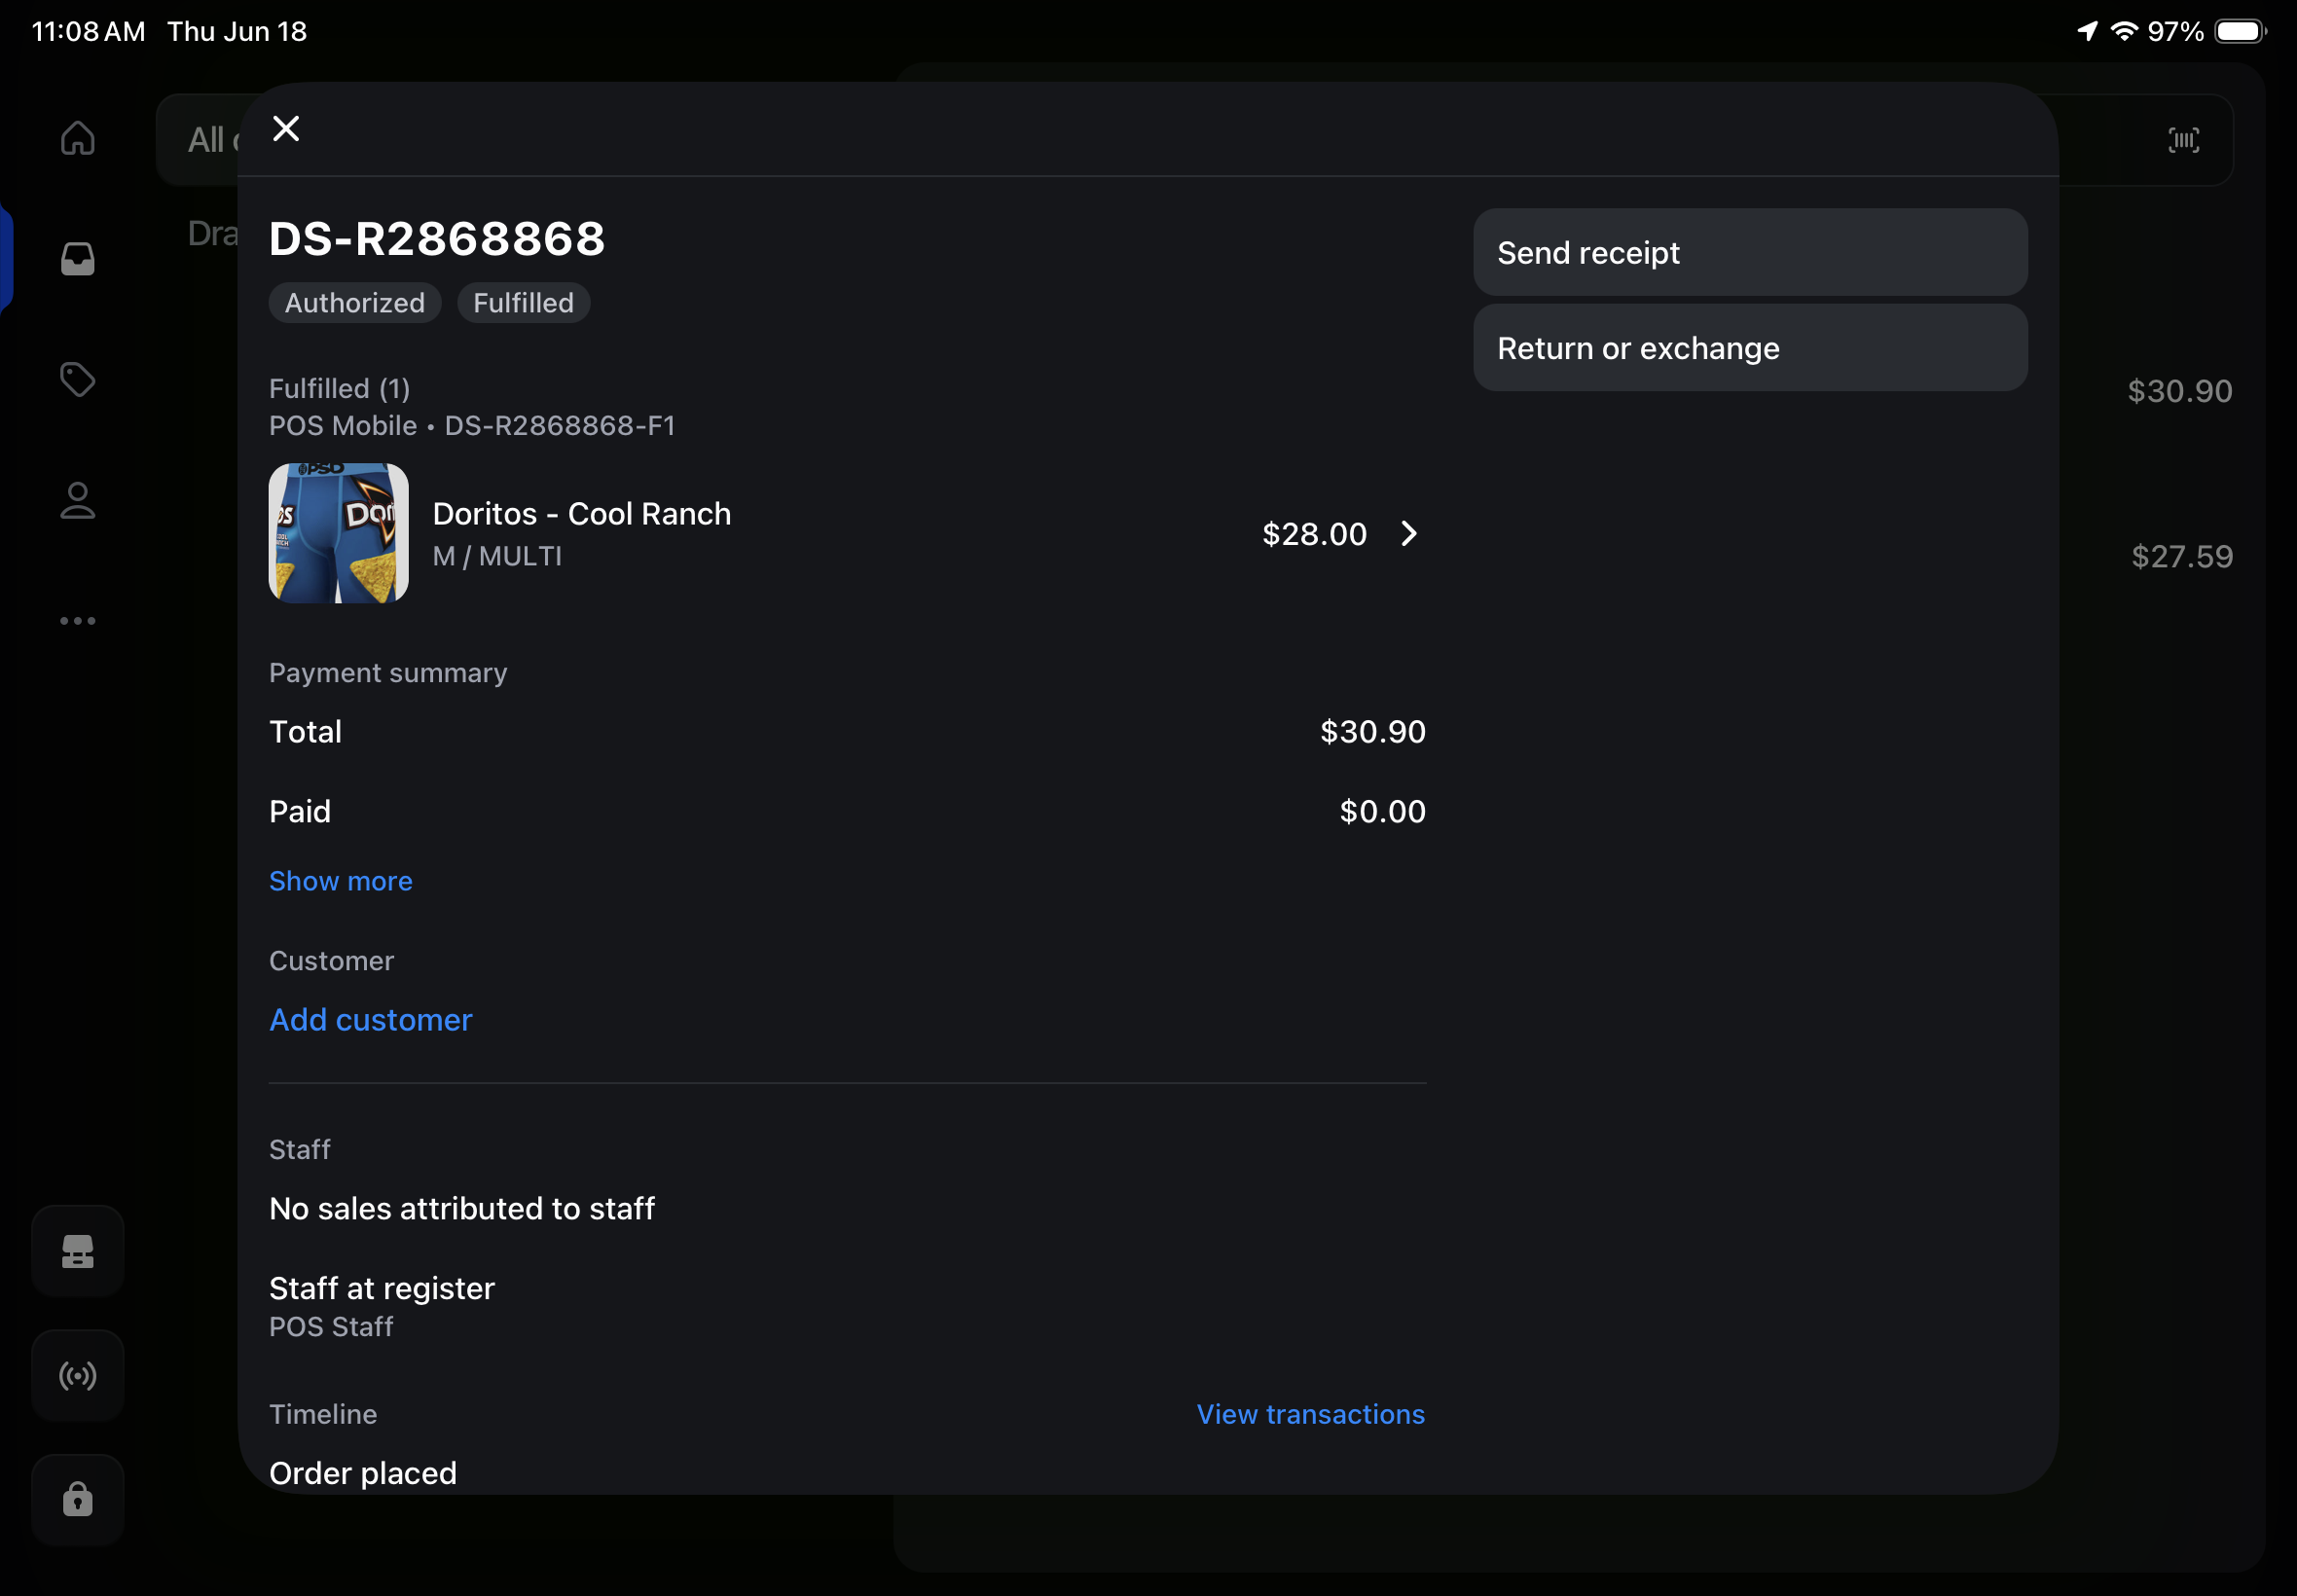
Returns, exchanges, refunds, and cancellations all start in the Orders tab and need a manager to approve.
- Go to the Orders tab on the left.
- Find the order on the right and open it.
- Tap Return or Exchange.
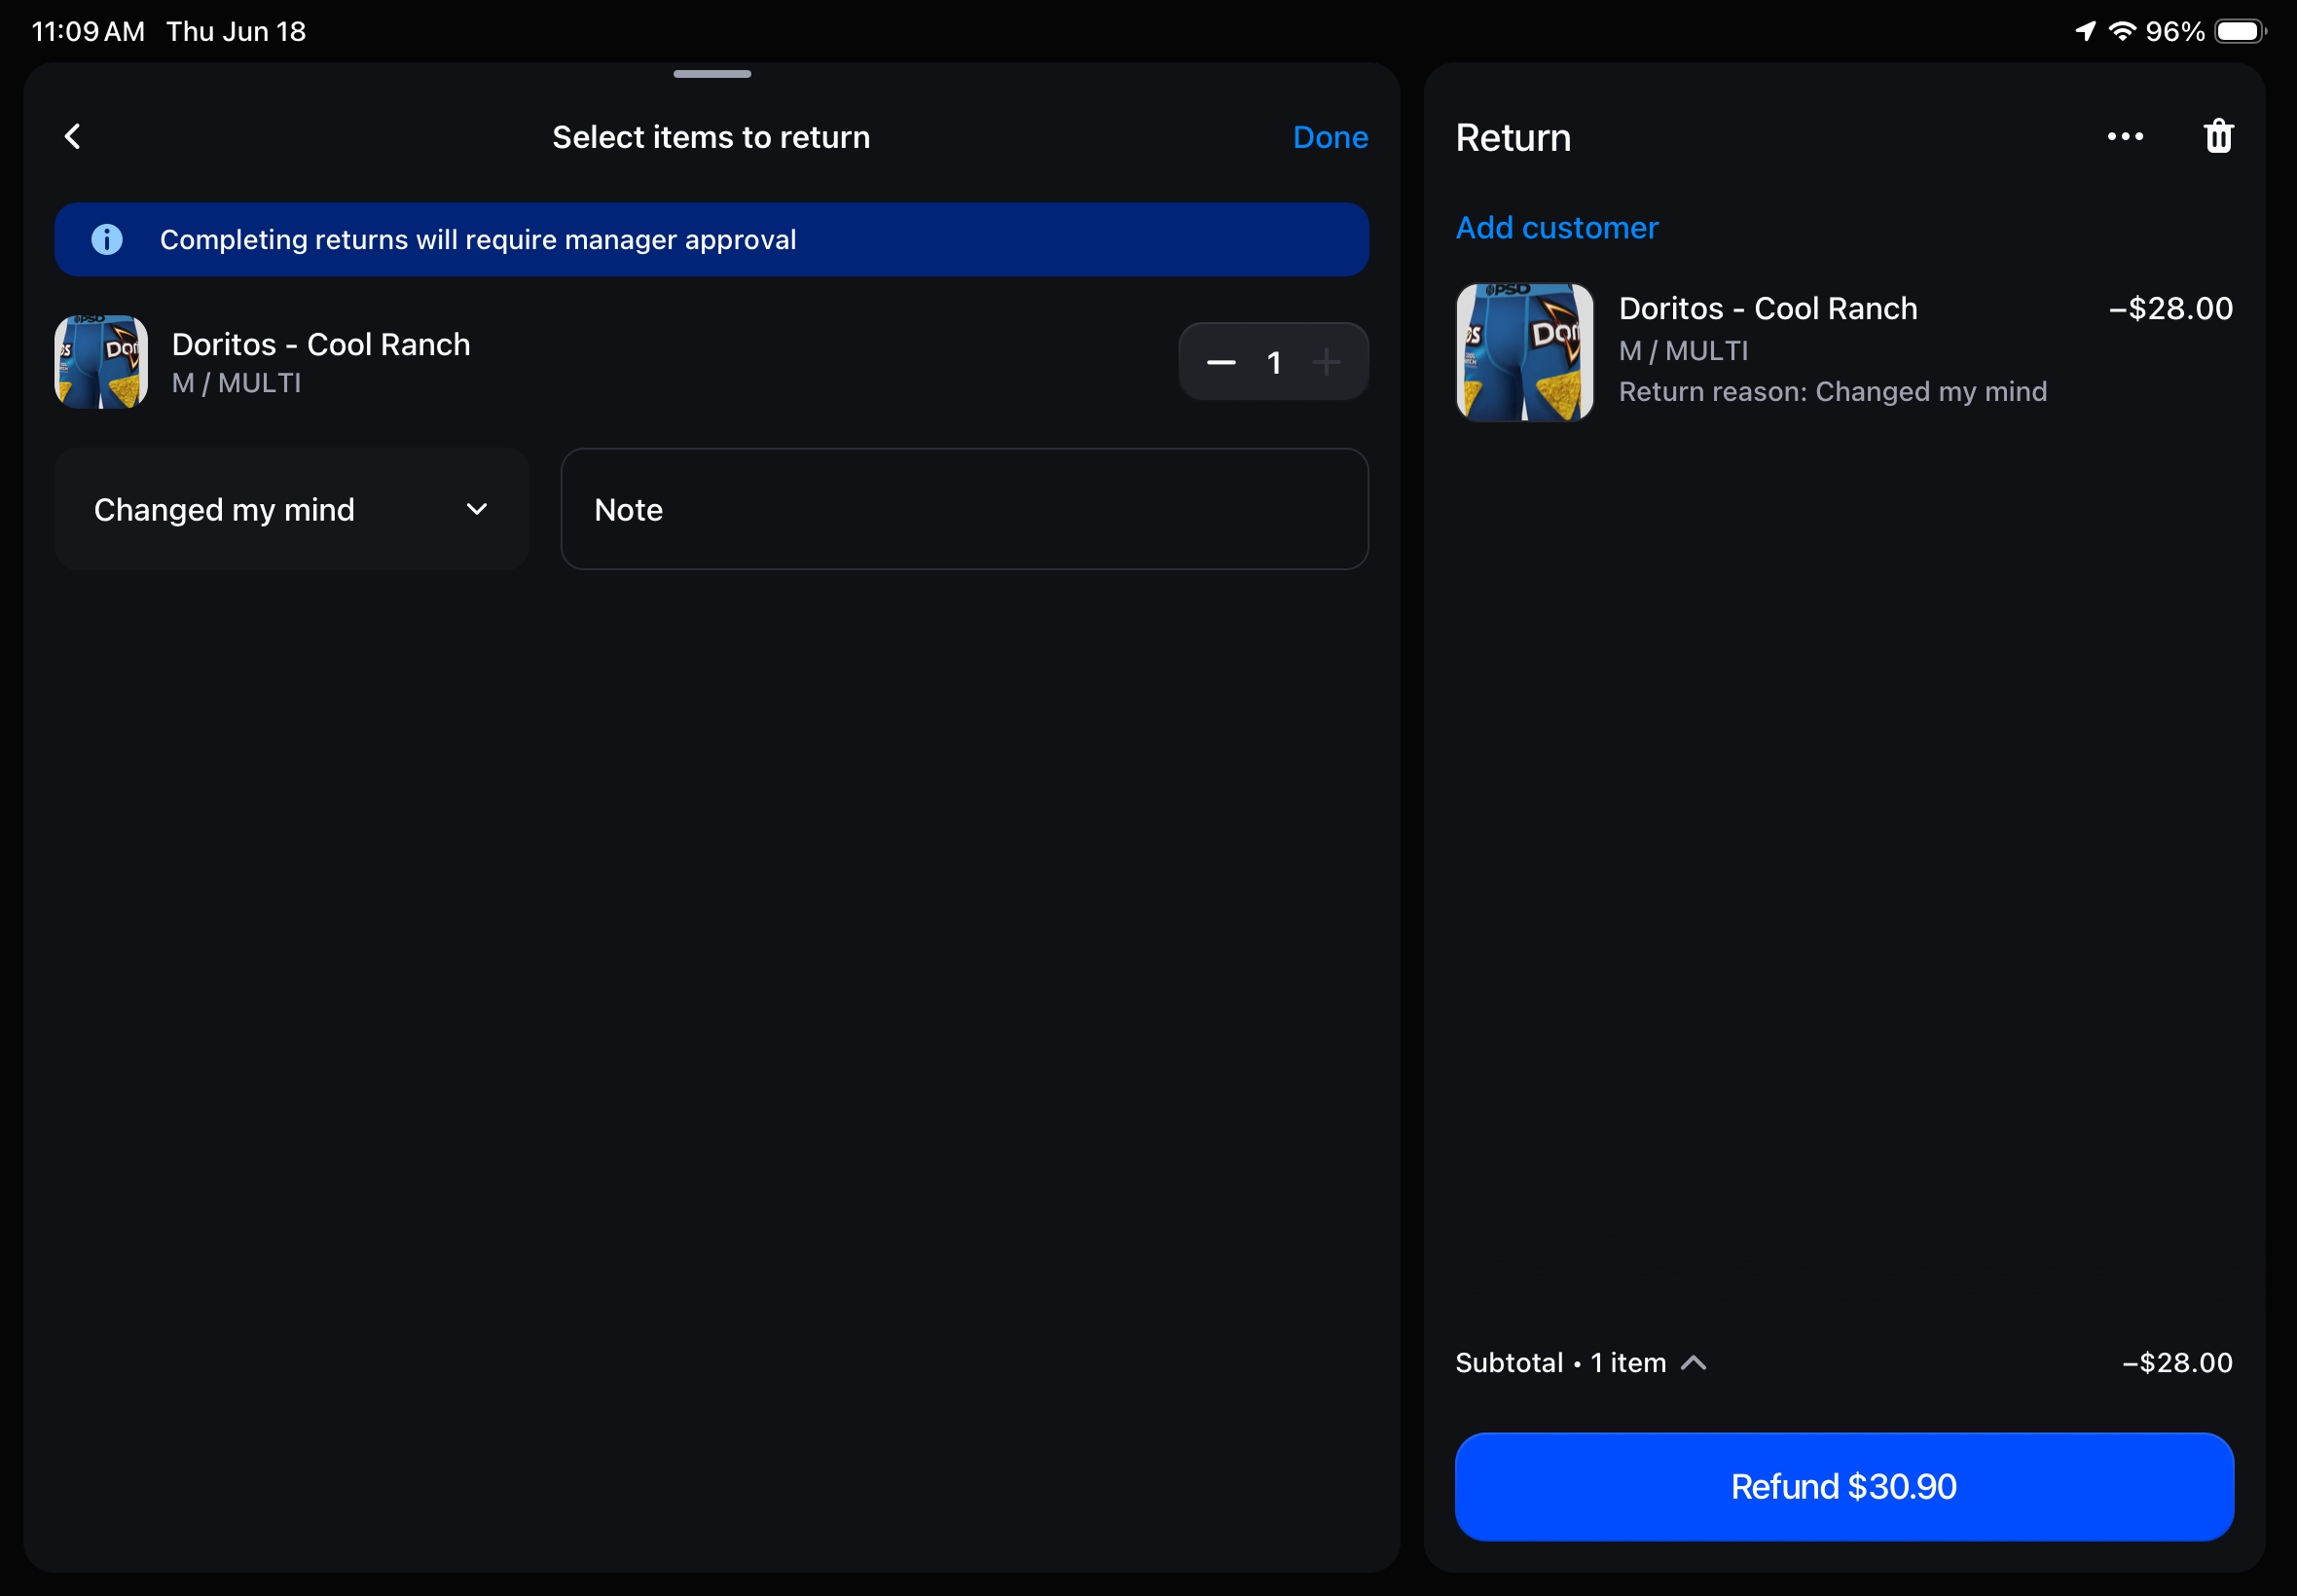
- Select the item, choose a reason.
- A manager enters their PIN to approve.
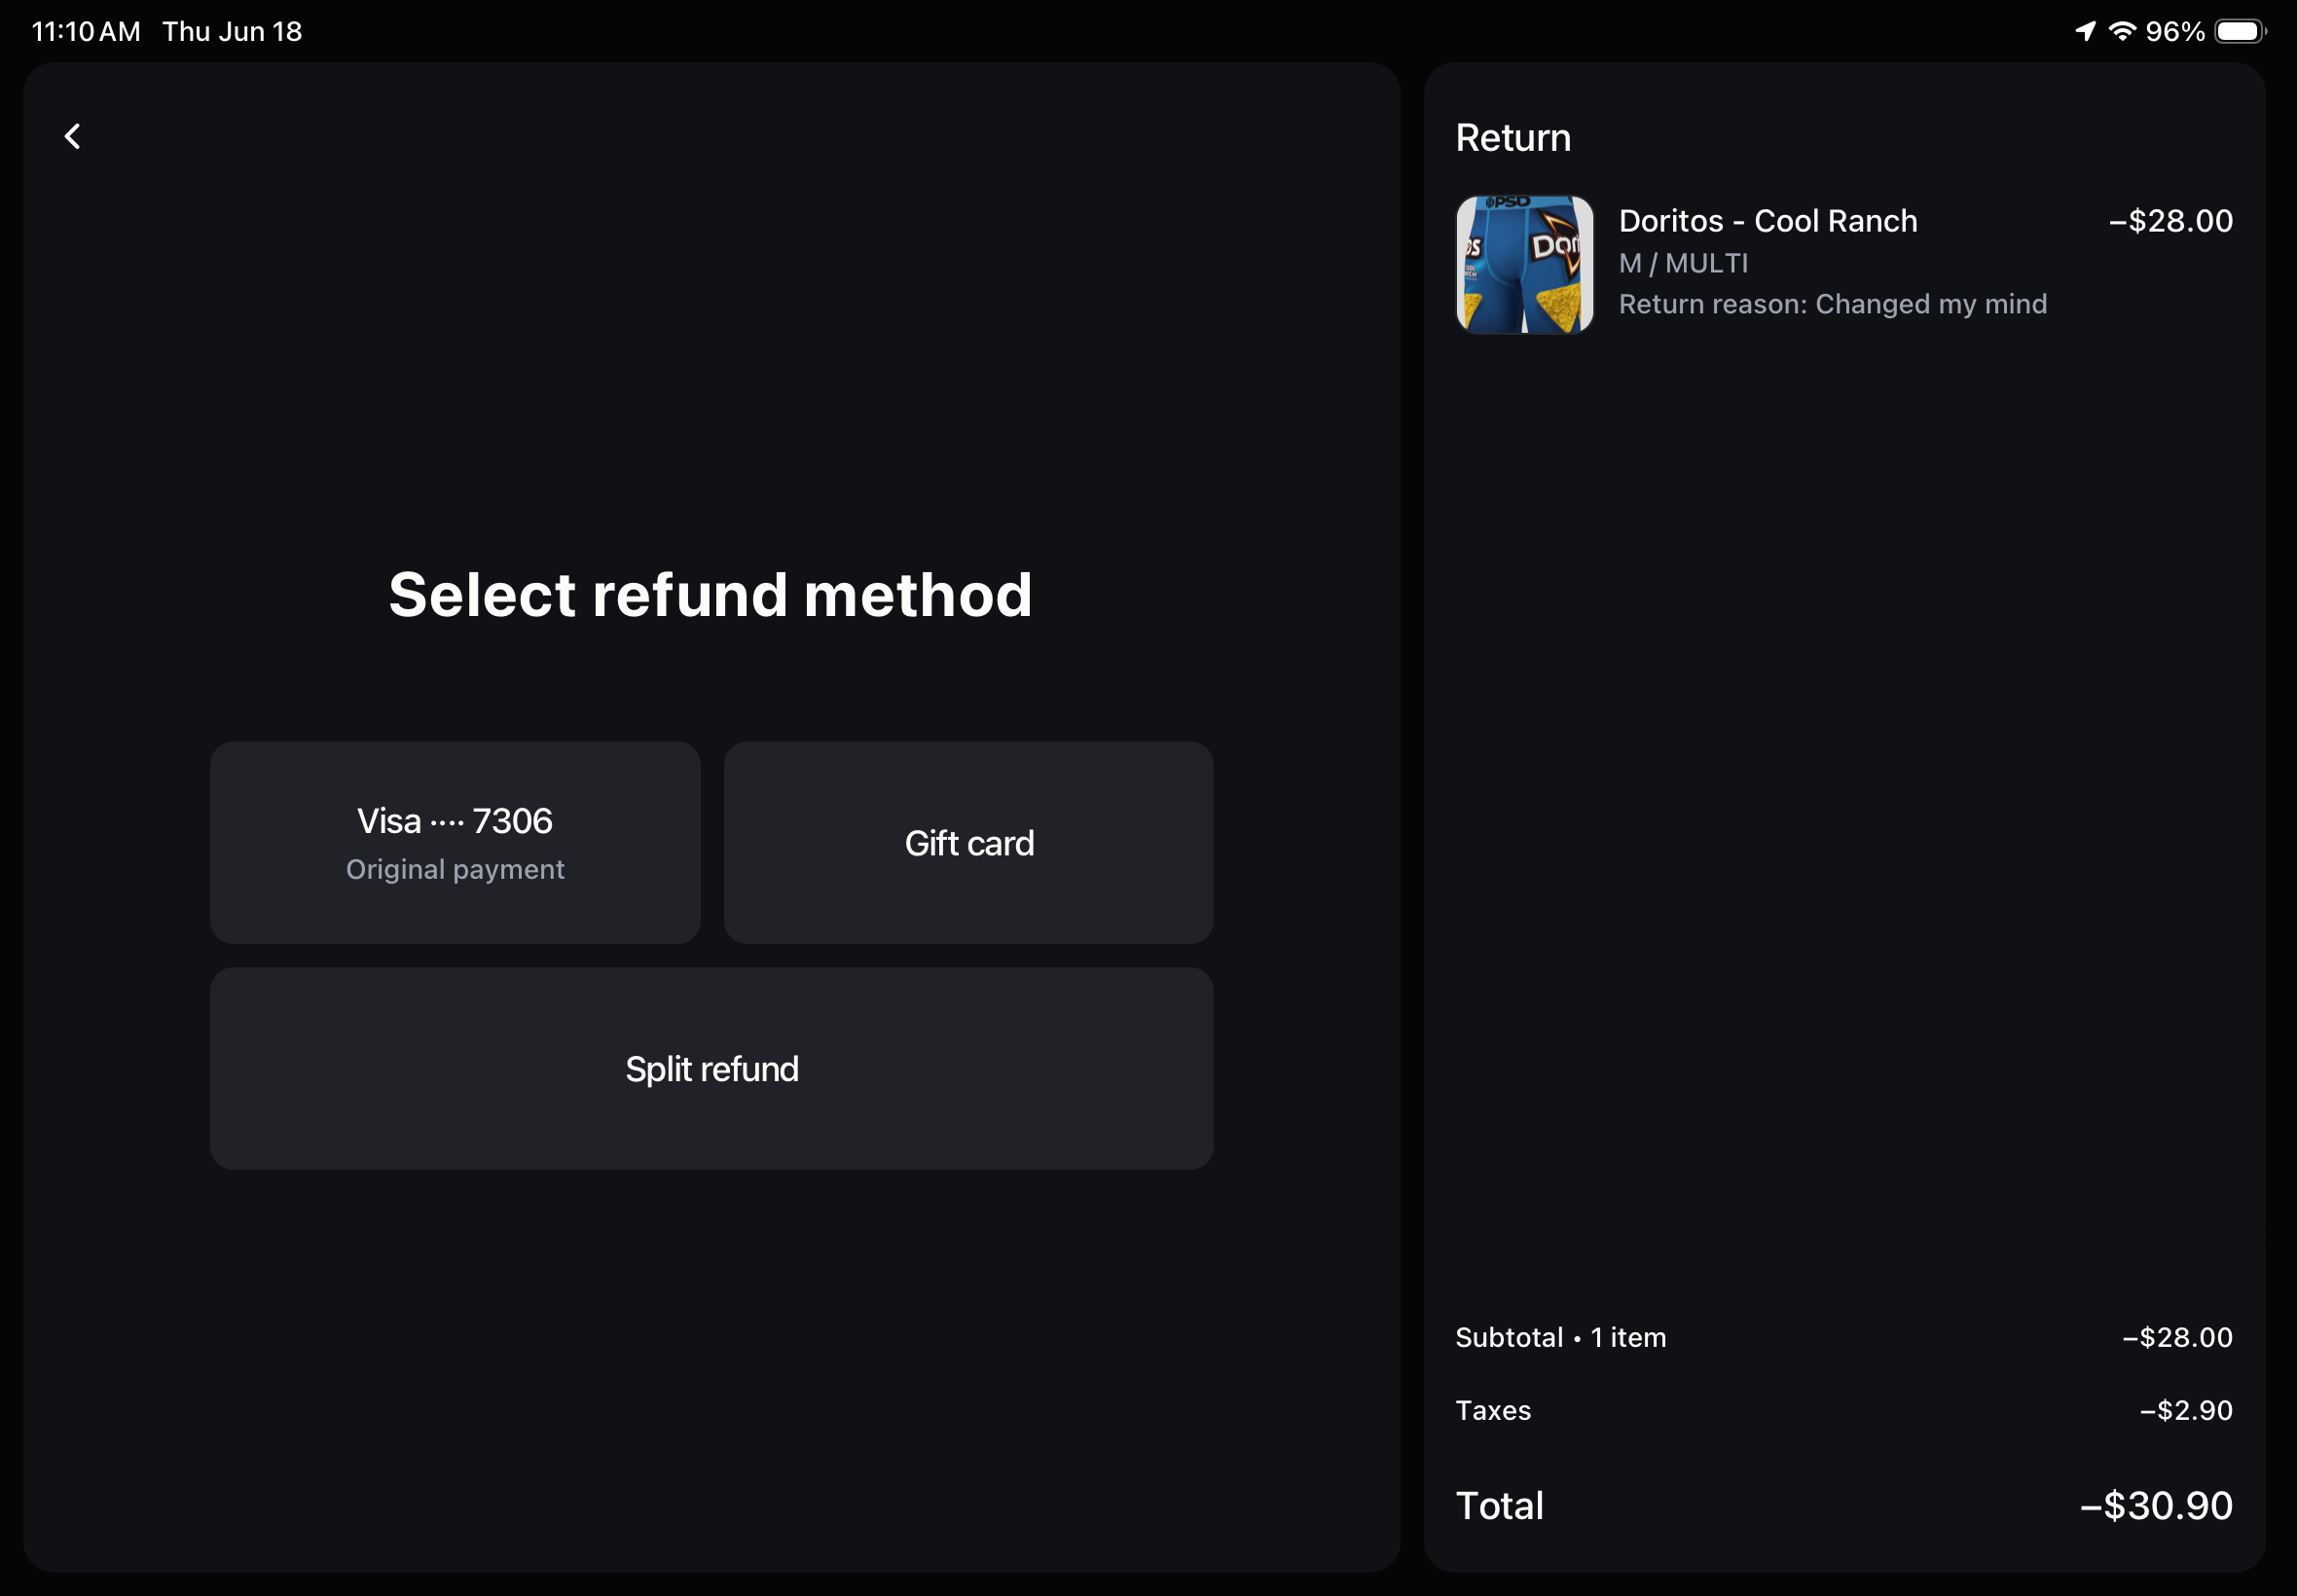
- Select refund method, then text or email the receipt.
Every return or exchange needs a manager PIN to override and approve.
Always refund to the original payment method.
You can also re-send a receipt from the order screen if the customer didn't get theirs.

FAQ & Troubleshooting
Quick answers to the things most likely to come up mid-shift. If something here points you to a manager or to Gian, don't improvise — escalate.